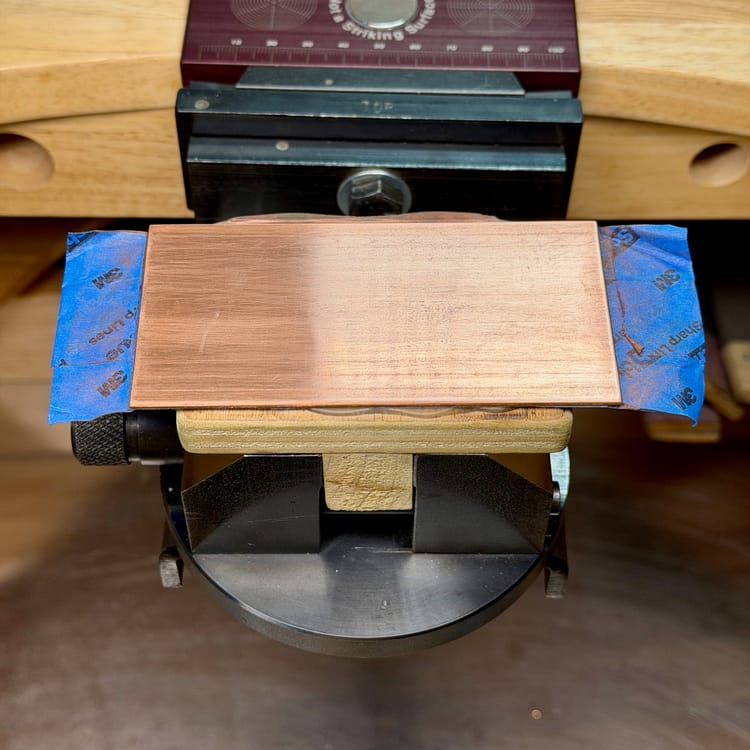
Keeping the cut centered: a plate centering fixture for an engraving vise
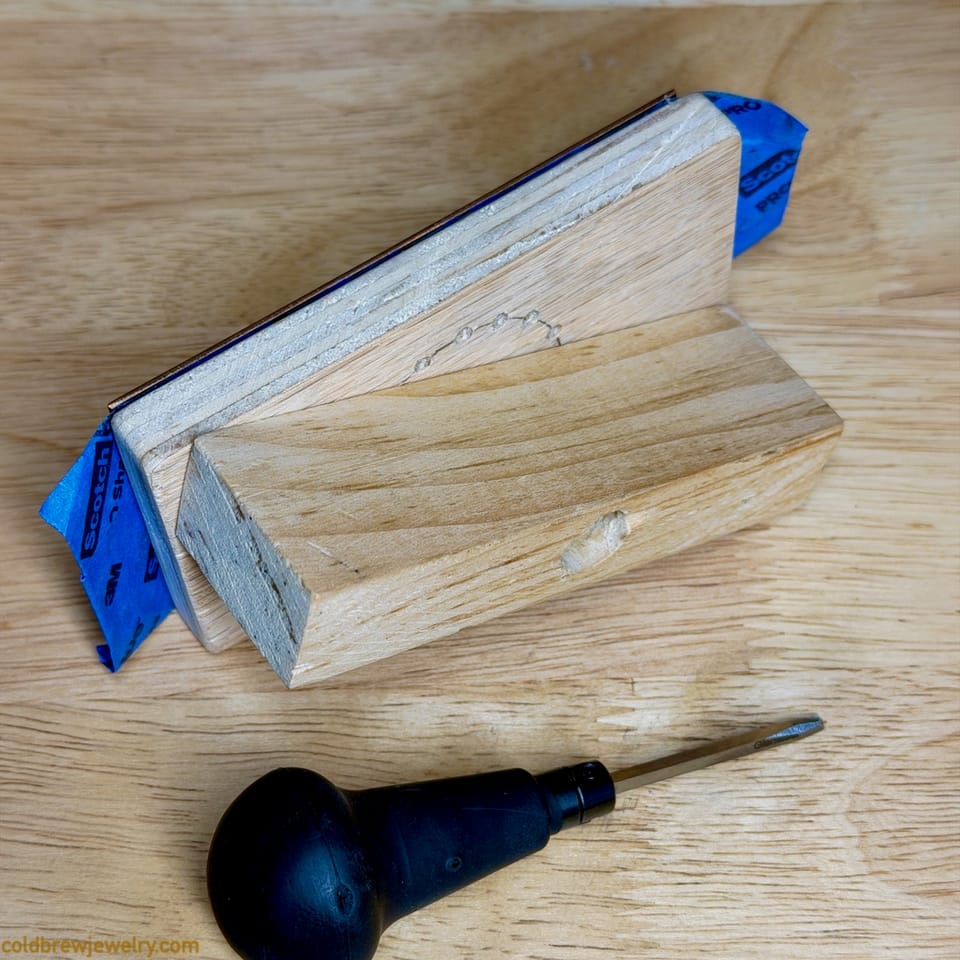
When you start engraving larger objects, even 2-by-2-inch copper practice plates, you quickly realize keeping your item centered under a microscope isn’t just simple advice. It’s essential to produce quality work. Even without a microscope, getting your item into your camera’s field of view and in focus can be challenging when you need a good close-up.
An engraving vise rotates around its center. If you use a phone or camera to shoot your work, it’s likely clamped to the bench and doesn't move. So when you cut toward the corner of a plate, the cut swings out of the frame and out of focus. The microscope has exactly the same problem. Moving the camera or chasing the spot with a microscope every so often means losing too much time.
Before we continue, I want to mention a few existing solutions. The most popular one is a turntable. It has a very smooth surface that allows you to glide the engraving vise easily. You center the turntable under the microscope and turn it as you cut instead of turning the vise. This way, you can put any spot in the center of the field of view. You can find one from GRS: the Satellite turntable. If, for example, you don’t use a microscope and only need to center your work for the camera, I don’t think the price justifies it. Other options, like a small or full-size positioning vise, can be pricey, too.
In Holding a practice plate for hand engraving, I showed a wooden block that keeps a practice plate centered in an uncentered vise. That fixes the plate’s center, but it doesn't help when the cut is near a corner.
Moving the pivot
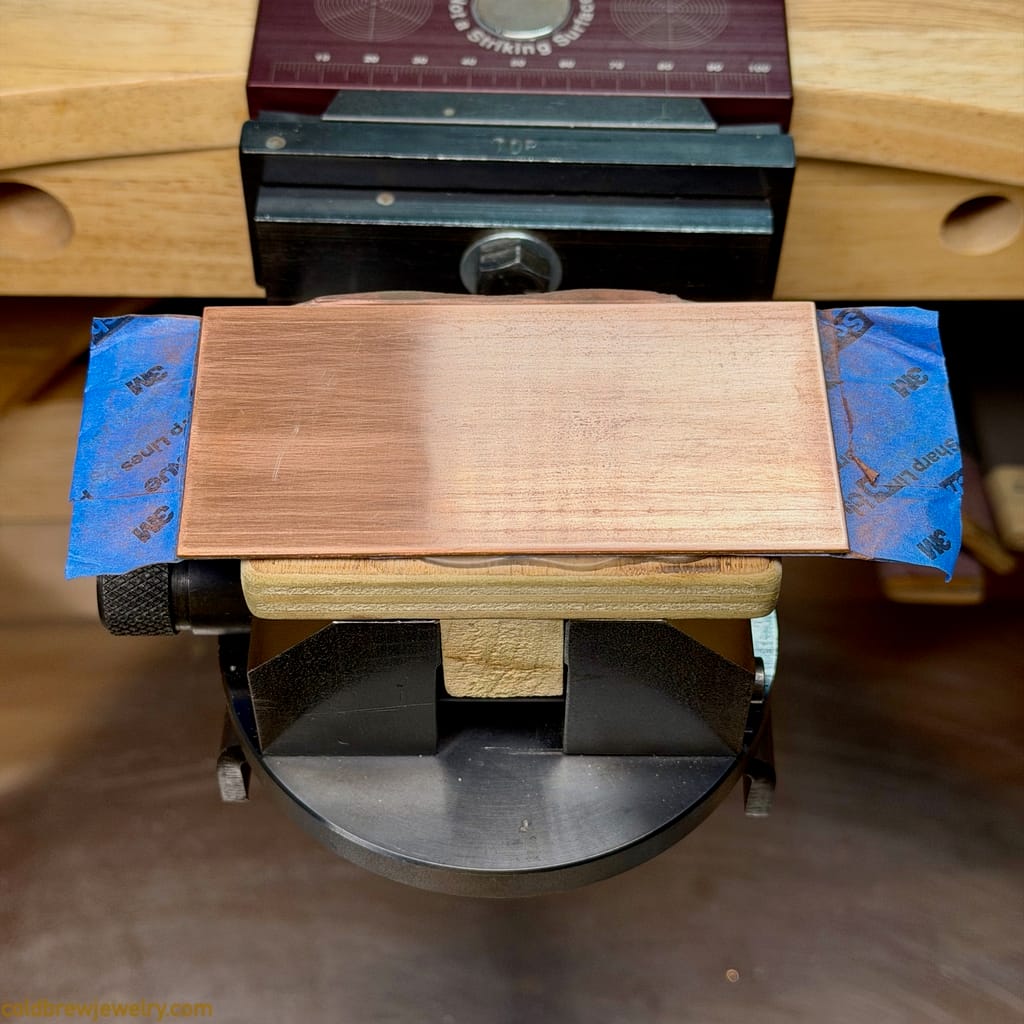
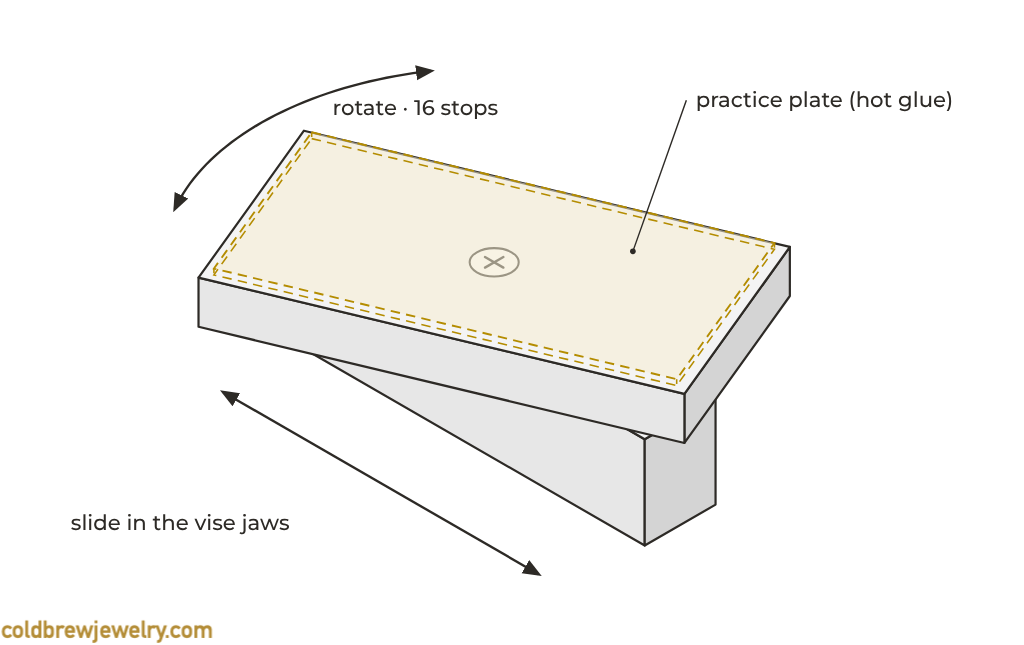
This fixture allows you to move the pivot instead. Two wooden blocks clamp in the vise jaws: a bottom block and a top plate that turns on a screw and locks into one of 16 positions on a steel pin.
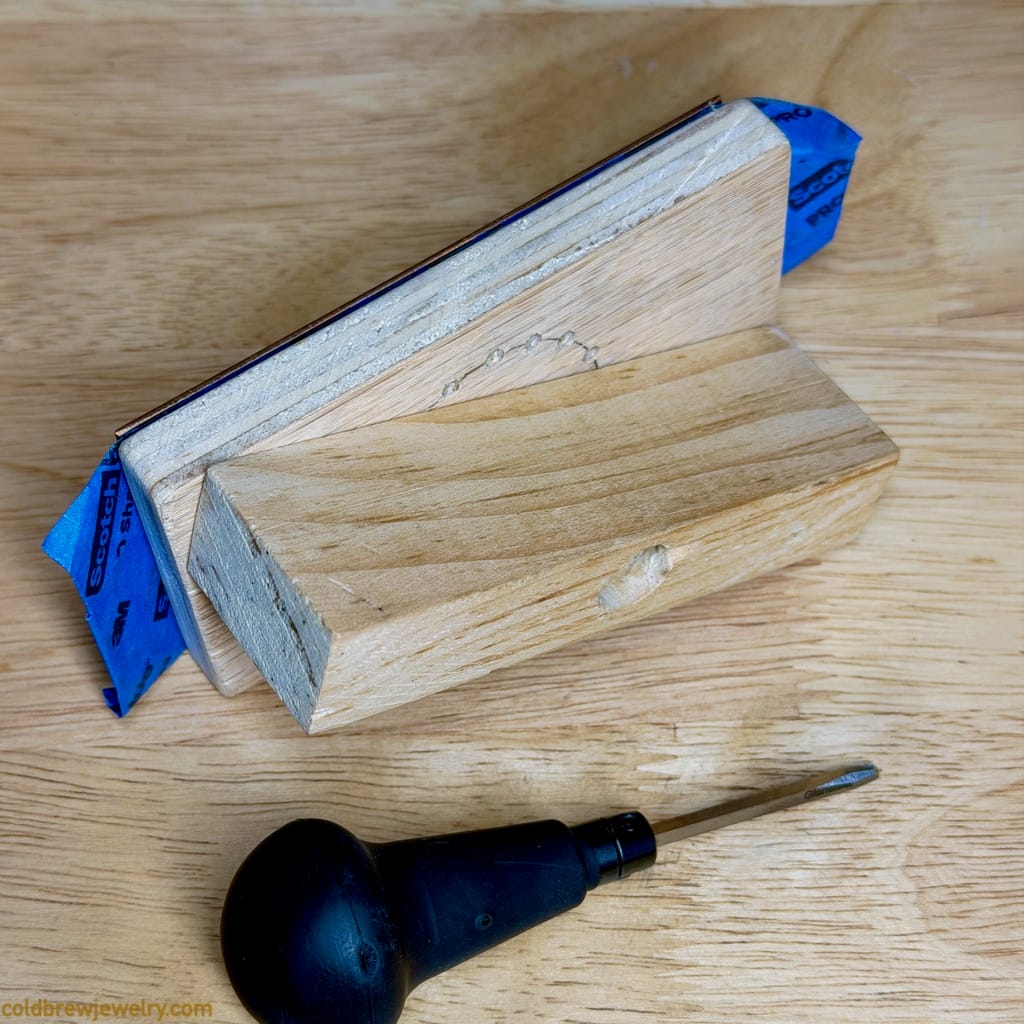
To bring a spot onto the vise's axis, lift the top plate off the pin and turn it until the spot is on the block's long centerline. Then loosen the vise, slide the block along the jaws until the spot is over the center, and retighten. This way, the spot stays at the vise’s rotation center, and the cut stays under the camera and microscope.
What it's made of
A scrap of hardwood for the two blocks, plus three bits of hardware:
- Pivot screw: #10-24 × 1-1/2" flat head Phillips machine screw with hex nut (zinc)
- Spring: compression spring, 8 mm OD, 0.8 mm wire, 25 mm free length, stainless. I used this one: uxcell. I think it has enough tension to hold the plate in place and also allow pulling the plate up for rotation relatively easily.
- Index pin: dowel pin, 3 × 10 mm, stainless. I used this one: uxcell. It could be any stainless pin. Just make sure you have the right drill bits for the holding hole and index holes.
It works in any vise that opens past 20 mm. On a centered vise like my GRS Standard block, that's all it needs. On an off-center vise, make the block as wide as the opening where your vise centers. For the GRS all-purpose vise, that's about 20 mm, as I described in the earlier post, so the same block works there too. One thing went wrong along the way: turning the top plate slowly unscrewed the nut. The fix is in the build notes, and it costs nothing.
I'm using hot glue on top of the fixture to hold the plate in place. It works with other workholding materials, too. Just make sure it sticks well to the surface.
Get the blueprint and the drilling template
I put everything you need to build one into a free PDF:
- A dimensioned drawing: a section through the screw, plus side and top views
- A drilling template to print at 100%
- Build notes, including the nut fix and a few improvements I haven't built yet

If you build one and post it on Instagram, tag me at @coldbrewjewelry. I'd like to see it.