Holding a practice plate for hand engraving
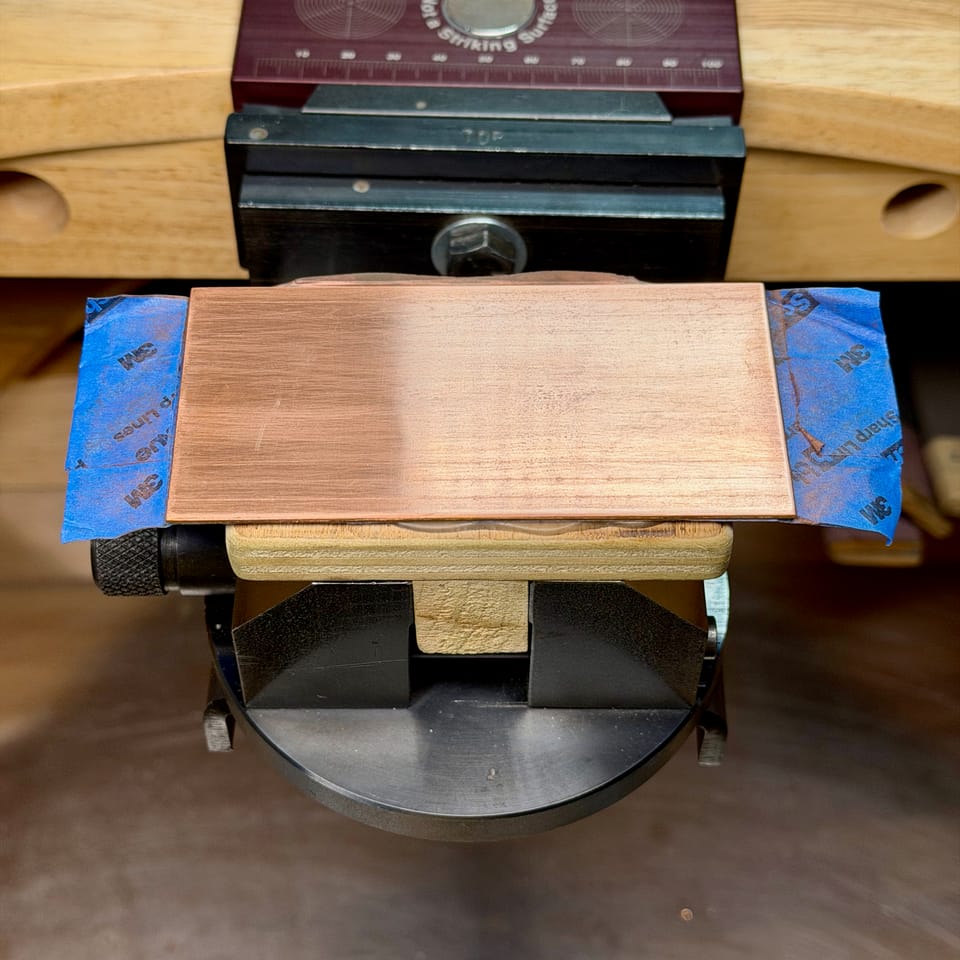
The best way to hold your practice plate when engraving is to get a proper ball vise. Sturdiness and quality often come with a hefty price tag. But as with any tool, you get what you pay for.
GRS is the brand of choice for many professional engravers. Their line of ball vises is de facto the industry standard. Steve Lindsay makes beautiful, high-quality vises. But as a small business, he doesn’t have the capacity for large-scale production. So, you may end up waiting close to a year to get a new vise. Jura is the brand of choice for many stone setters and jewelry engravers.
There are multiple cheaper brands you can find on Amazon, for example. I heard positive reviews from beginner engravers. But again, you get what you pay for. And there’s nothing wrong with it. Properly optimizing your budget is the best thing you can do. Keep in mind that tools aren’t just your business assets. They are also an investment in your quality of work. Tools are like multipliers. If you have enough practice to produce high-quality work, poor tools can be a negative multiplier. If your work quality is poor, a great tool won’t give you much of a boost. But while you can grow your skills, the only way to get better tools is to buy them. So, make your best judgment on what works for you.
In my case, I only had an all-purpose vise from GRS when I started practicing. There are a few things that make it tricky to use for engraving. The biggest issue is that this vise is not centered. It means that one jaw is always in a fixed position.
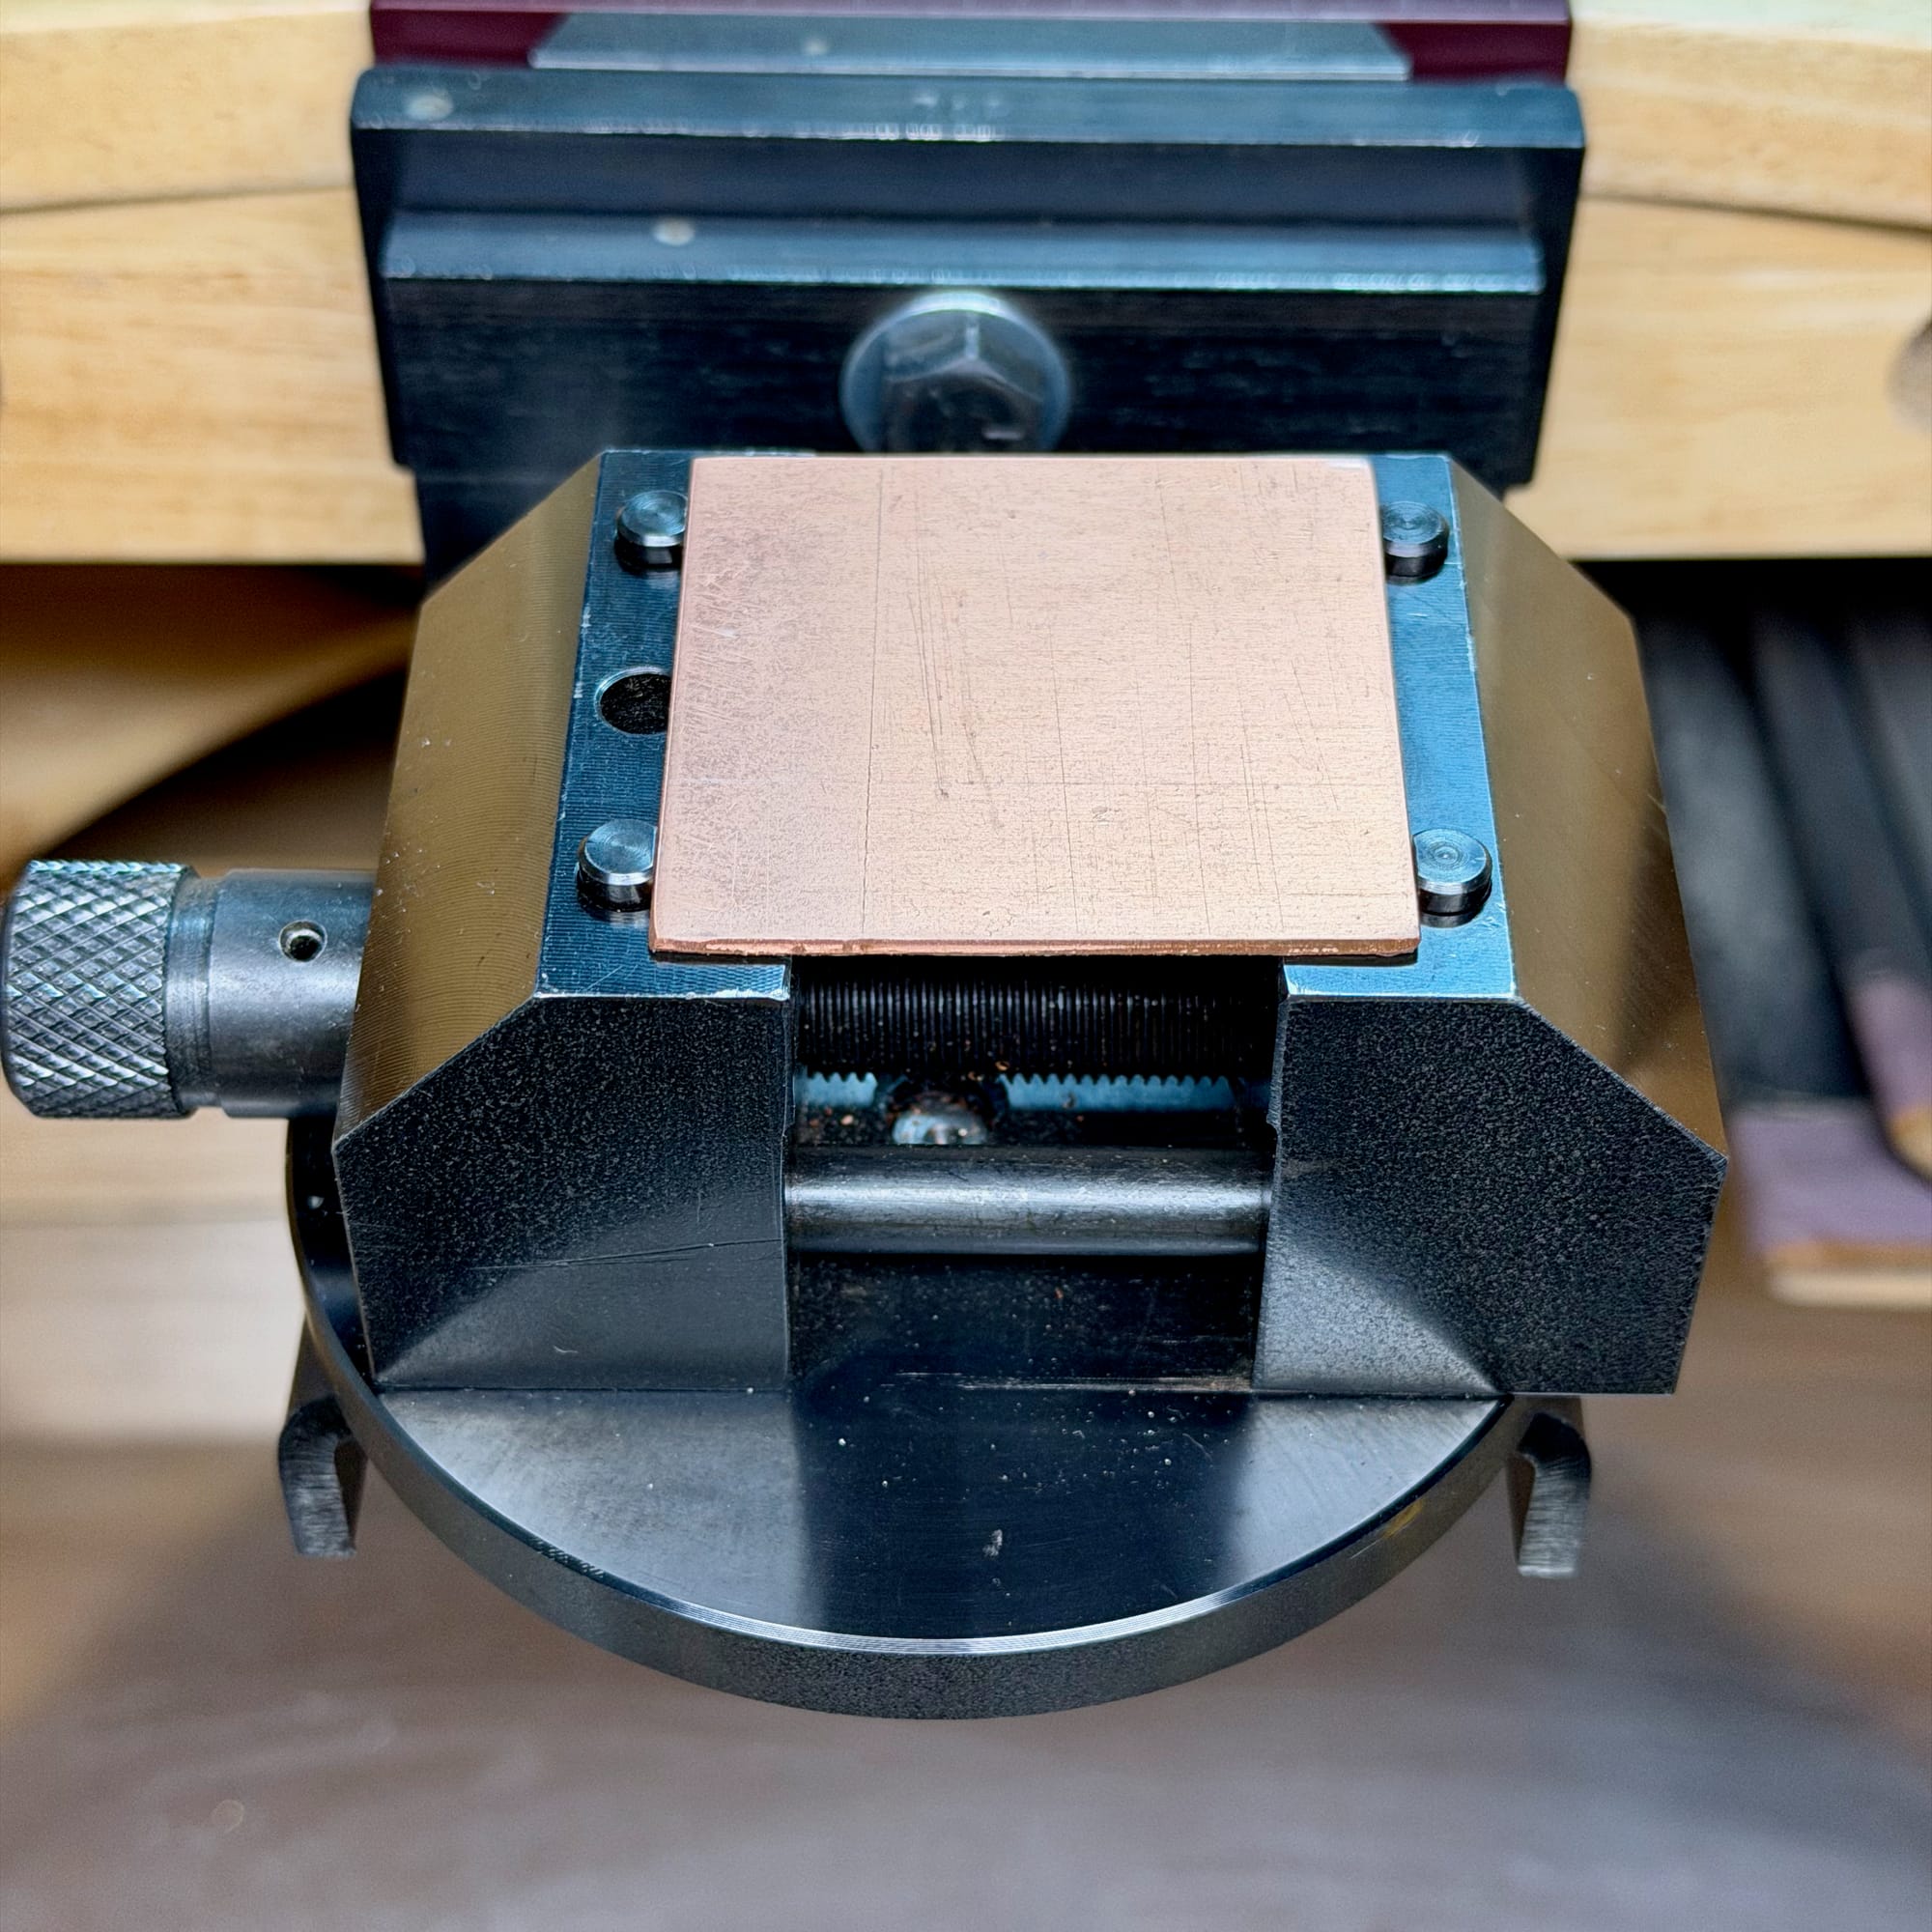
The wider the practice plate is, the more off-center it ends up in the vise. The sweet spot is about a 20 mm opening, meaning the object is centered in the vise only if it’s that wide. But no way I’m using such a tiny practice plate. The standard ones are usually 2 by 2 inches or 2 by 4 inches.
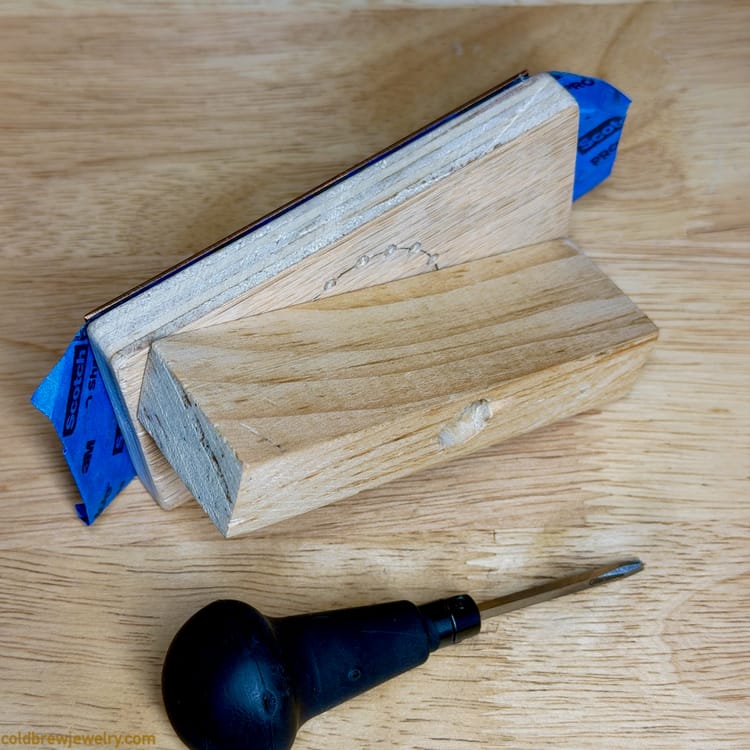
So, I ended up making a wooden T-shaped work-holding block.
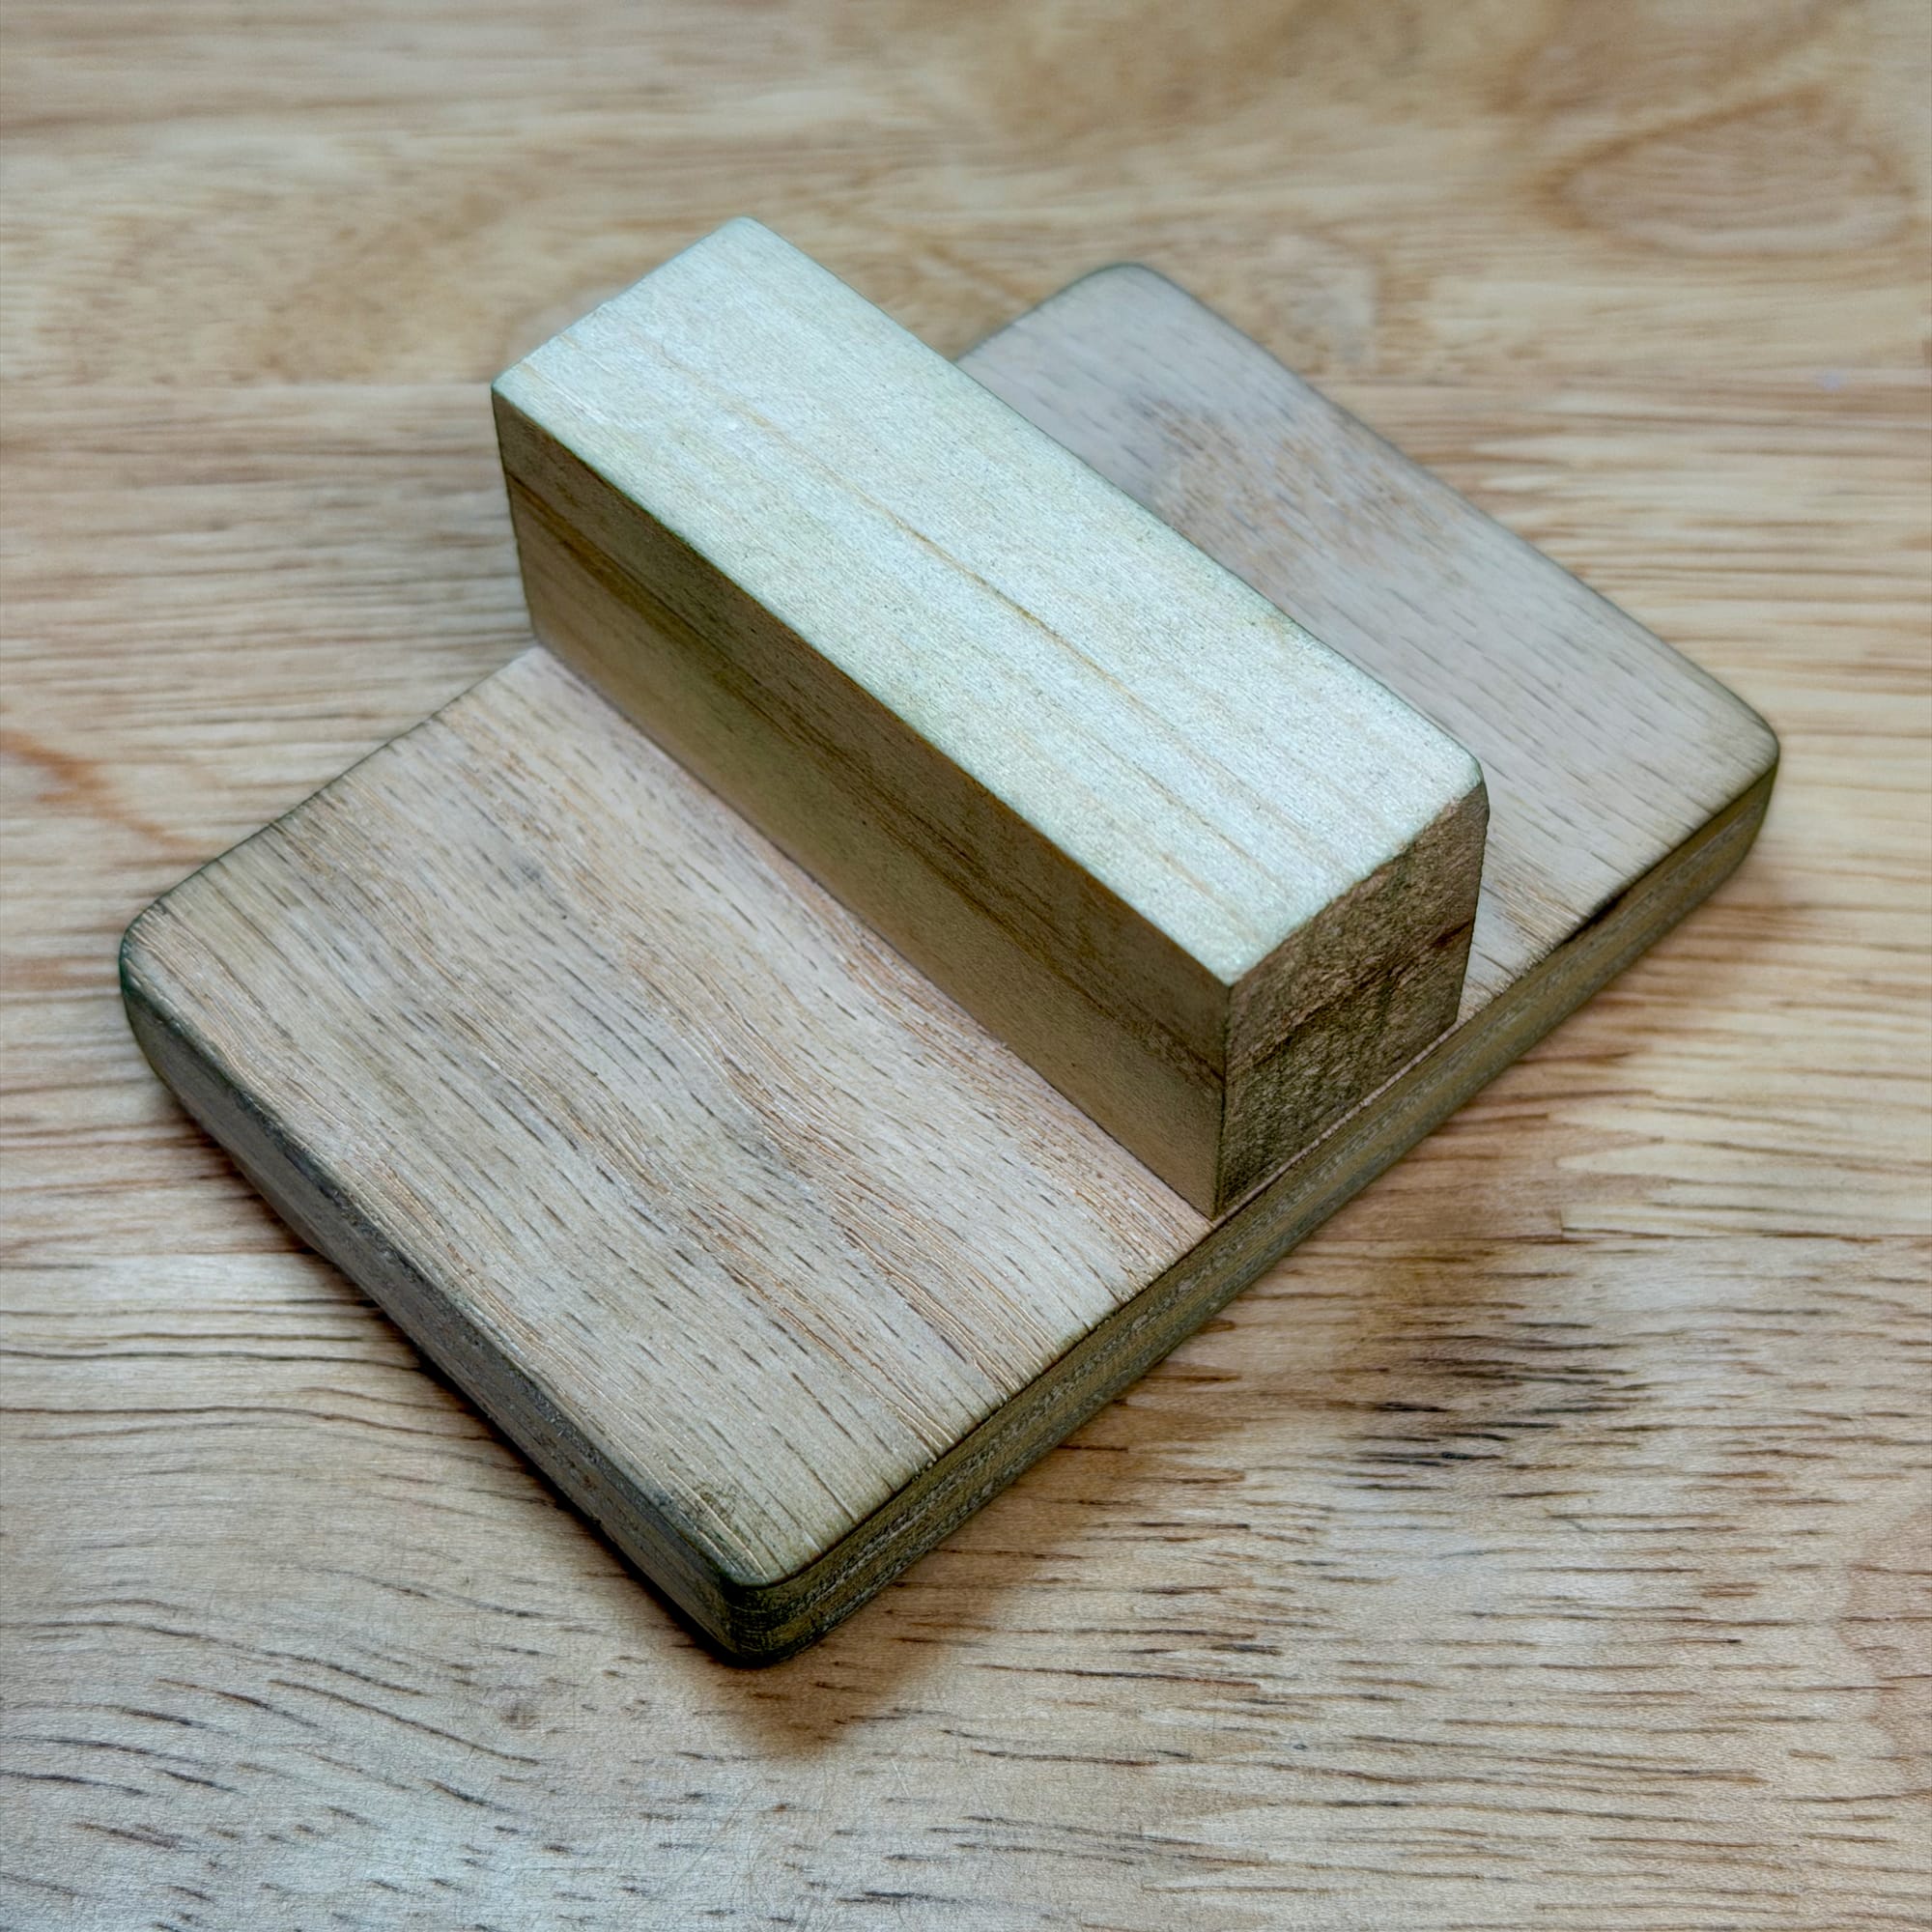
You need two small pieces of wood to make one. The part that goes between the jaws should be about 2 inches by 1 1/2 inches and about 3/4 inches deep. So, the wooden block is always centered in the vise.
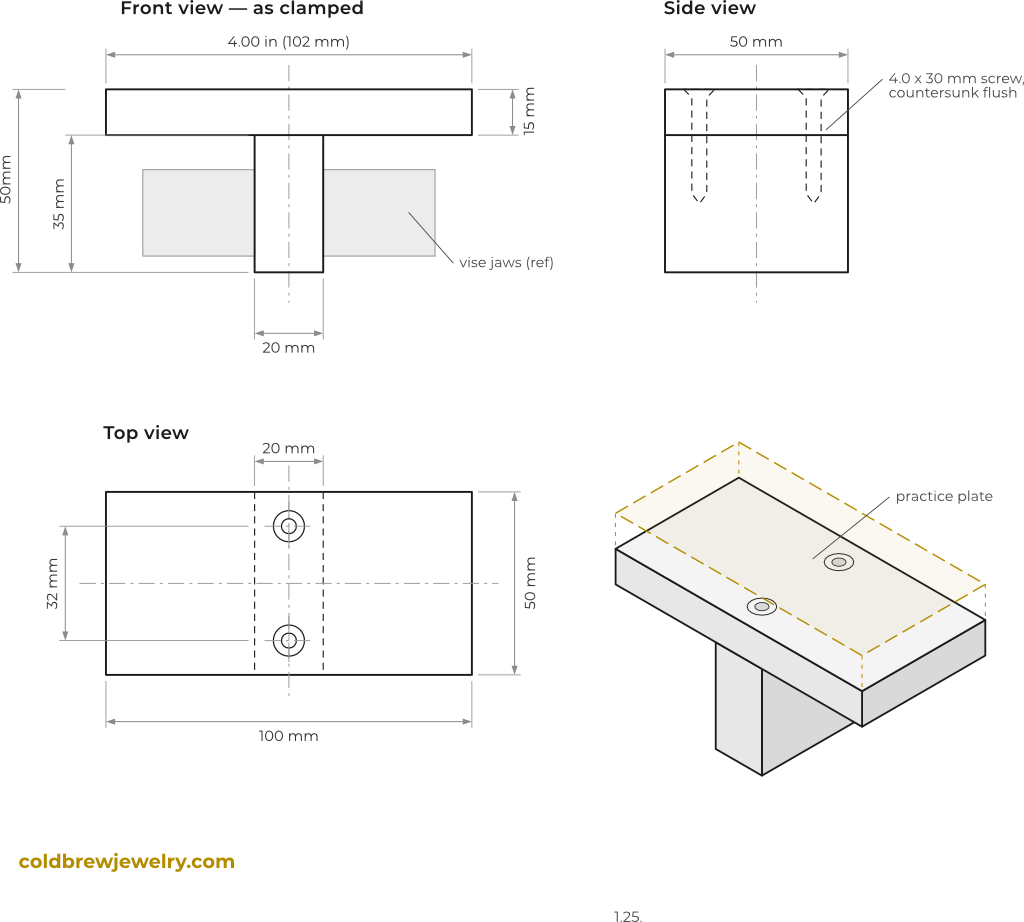
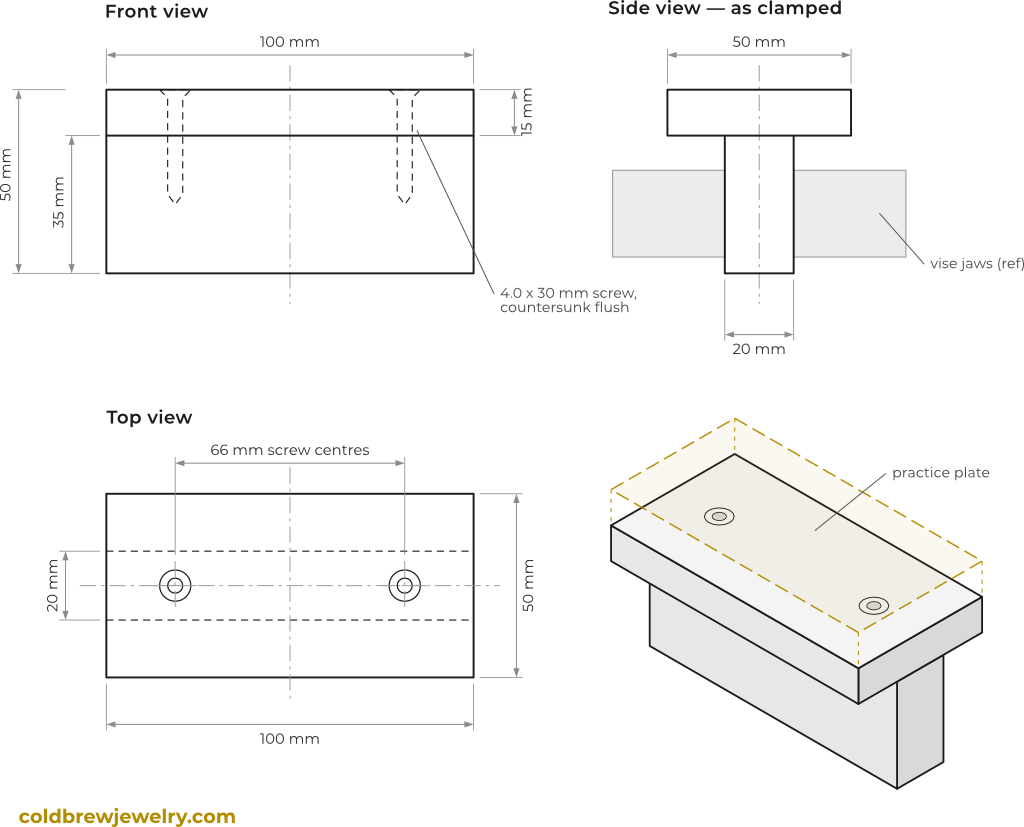
The block on top is 2 by 4 inches to match the practice plate size. I used two screws to attach it. Make sure to add countersinks to keep the screws flush with the surface.
One thing you can do is rotate the bottom part 90 degrees and make it longer. This way, when you work on a rectangular plate, you can shift it closer to the center. It makes it easier to make radial cuts and also keep the item inside your microscope’s field of view if you’re planning to use one.
The next question is how to attach the plate to the wooden block. There are options there, too, like dop wax or different kinds of moldable plastic. I find them either too messy or too time-consuming. But, of course, everyone has their preference.
I learned another way from Paul Lowe on Instagram. First, I spread hot glue on the wooden block just enough to have a layer that is not too thick.
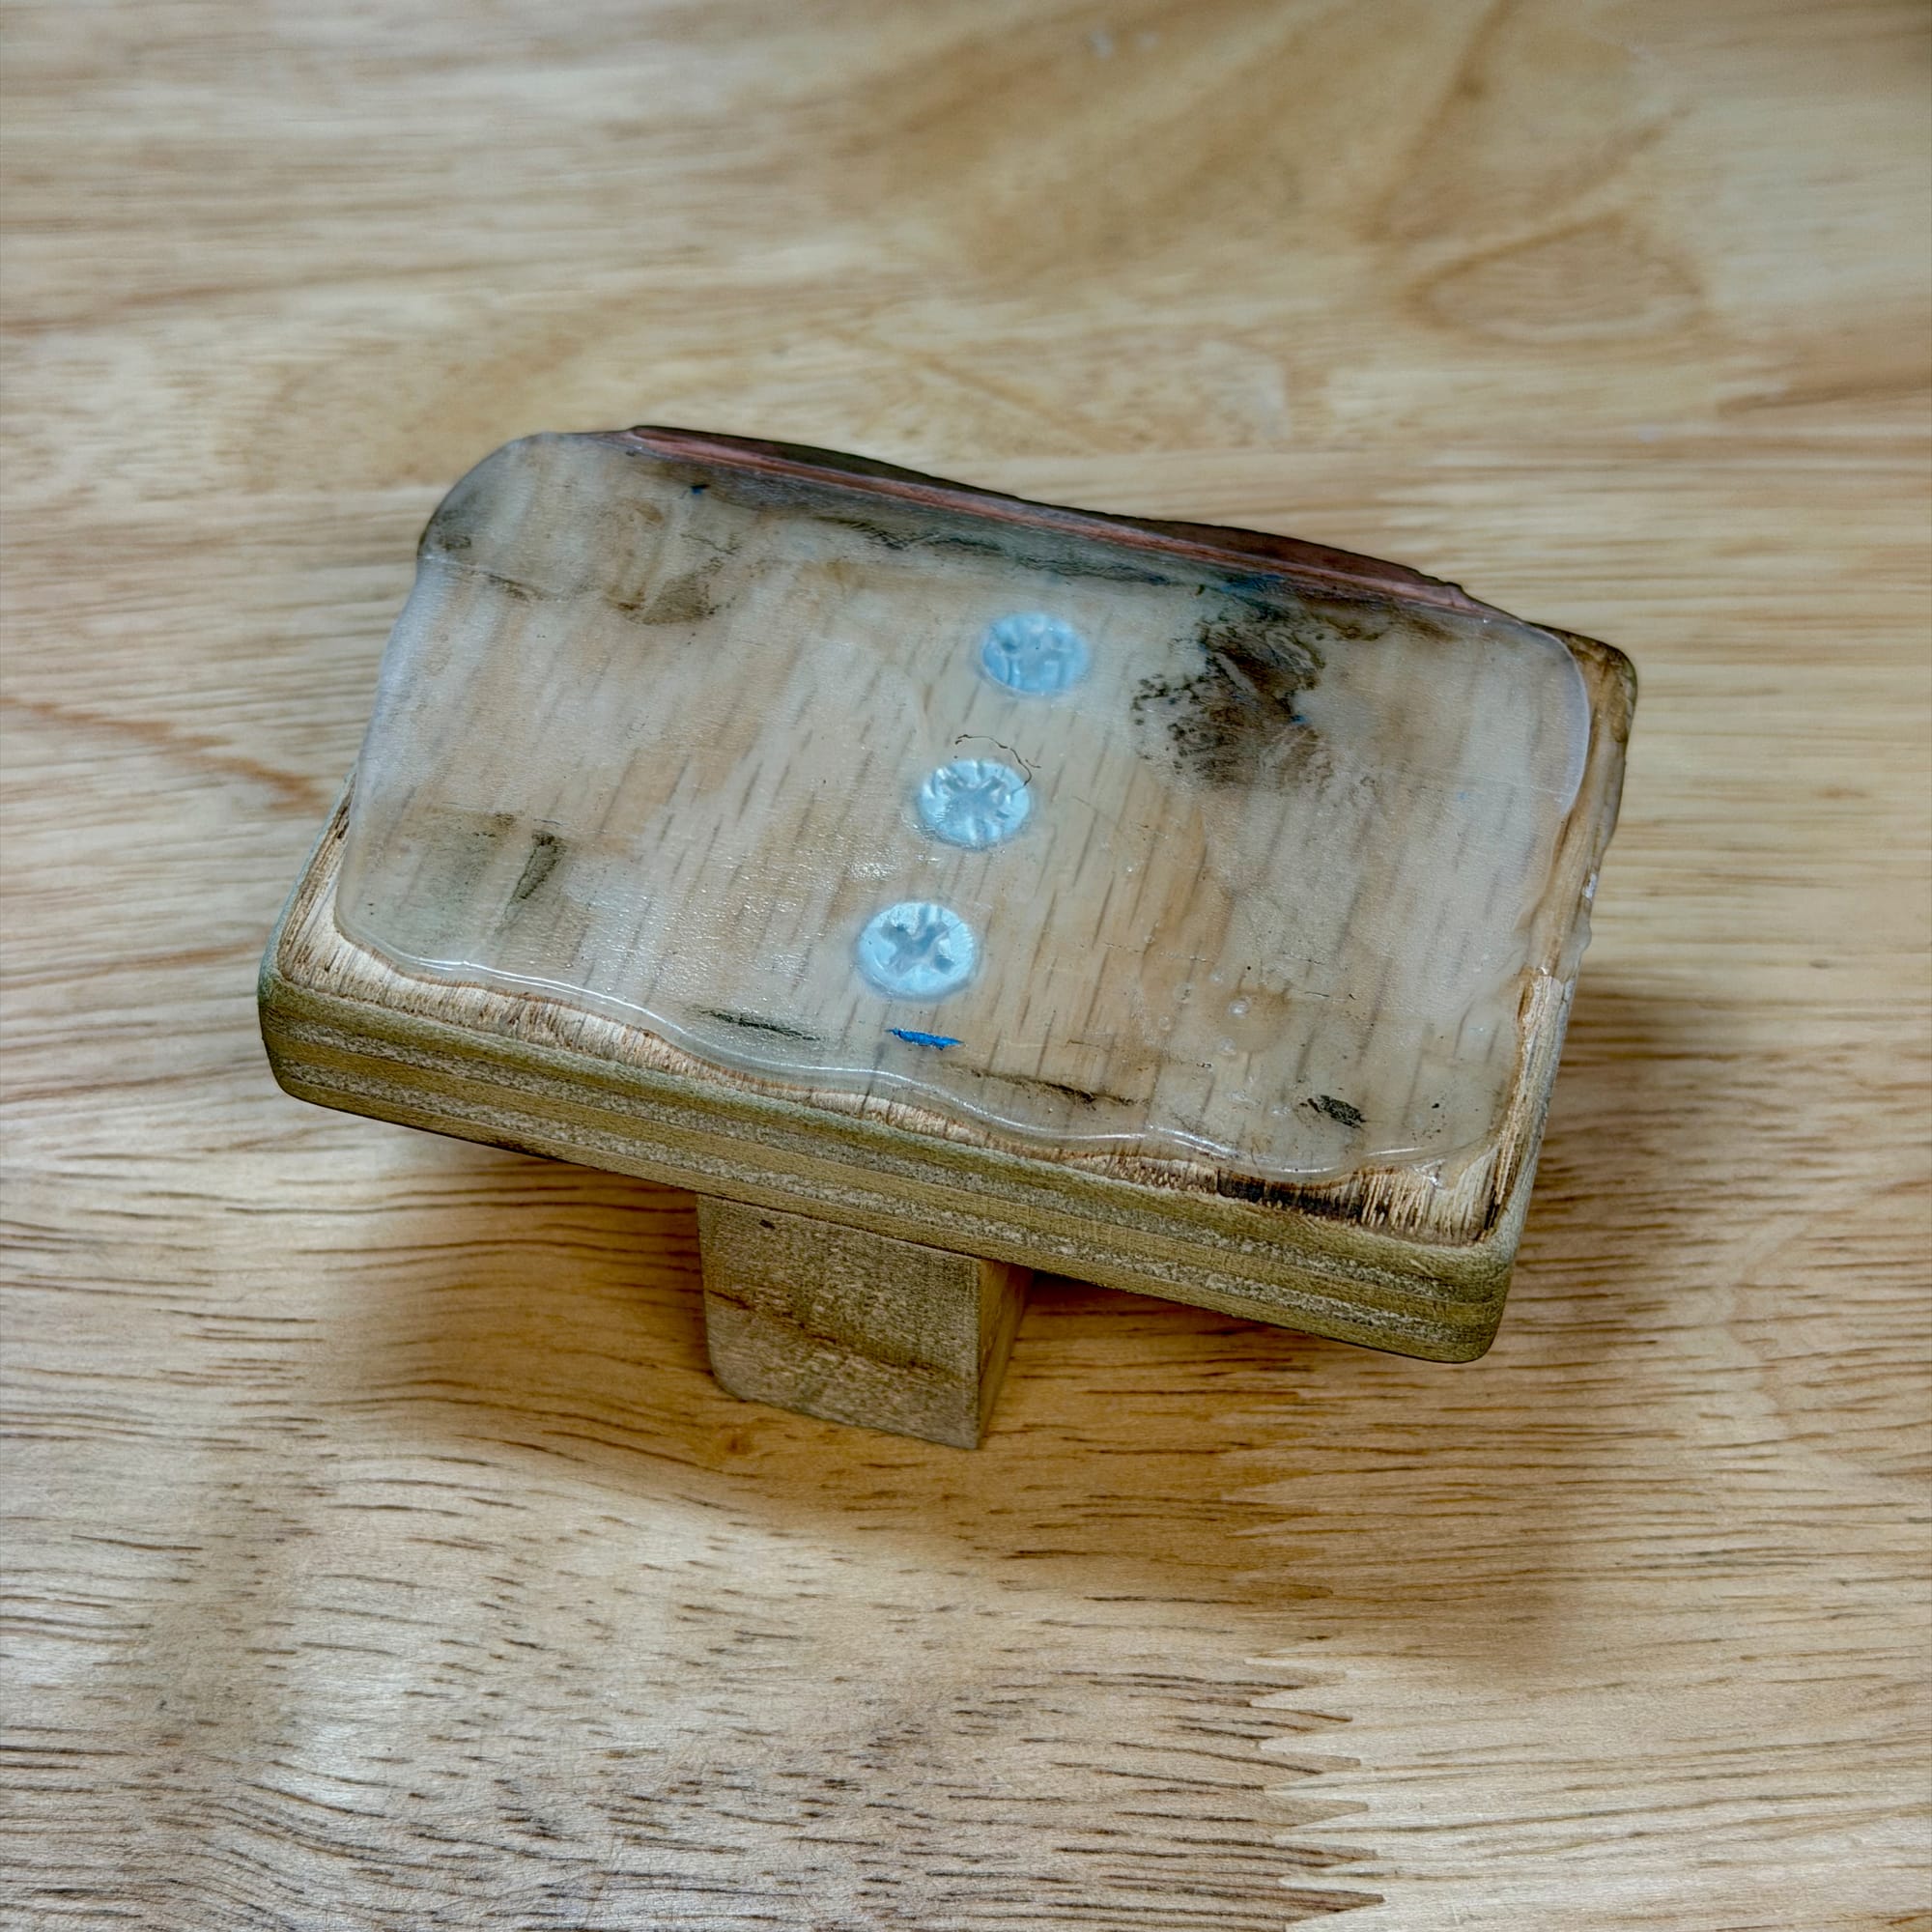
Whenever I need to attach a plate, I put painter’s tape on one side, with extra tape sticking out. It’s very important because, as you’ll see in a minute, it helps you detach the plate when you finish engraving.
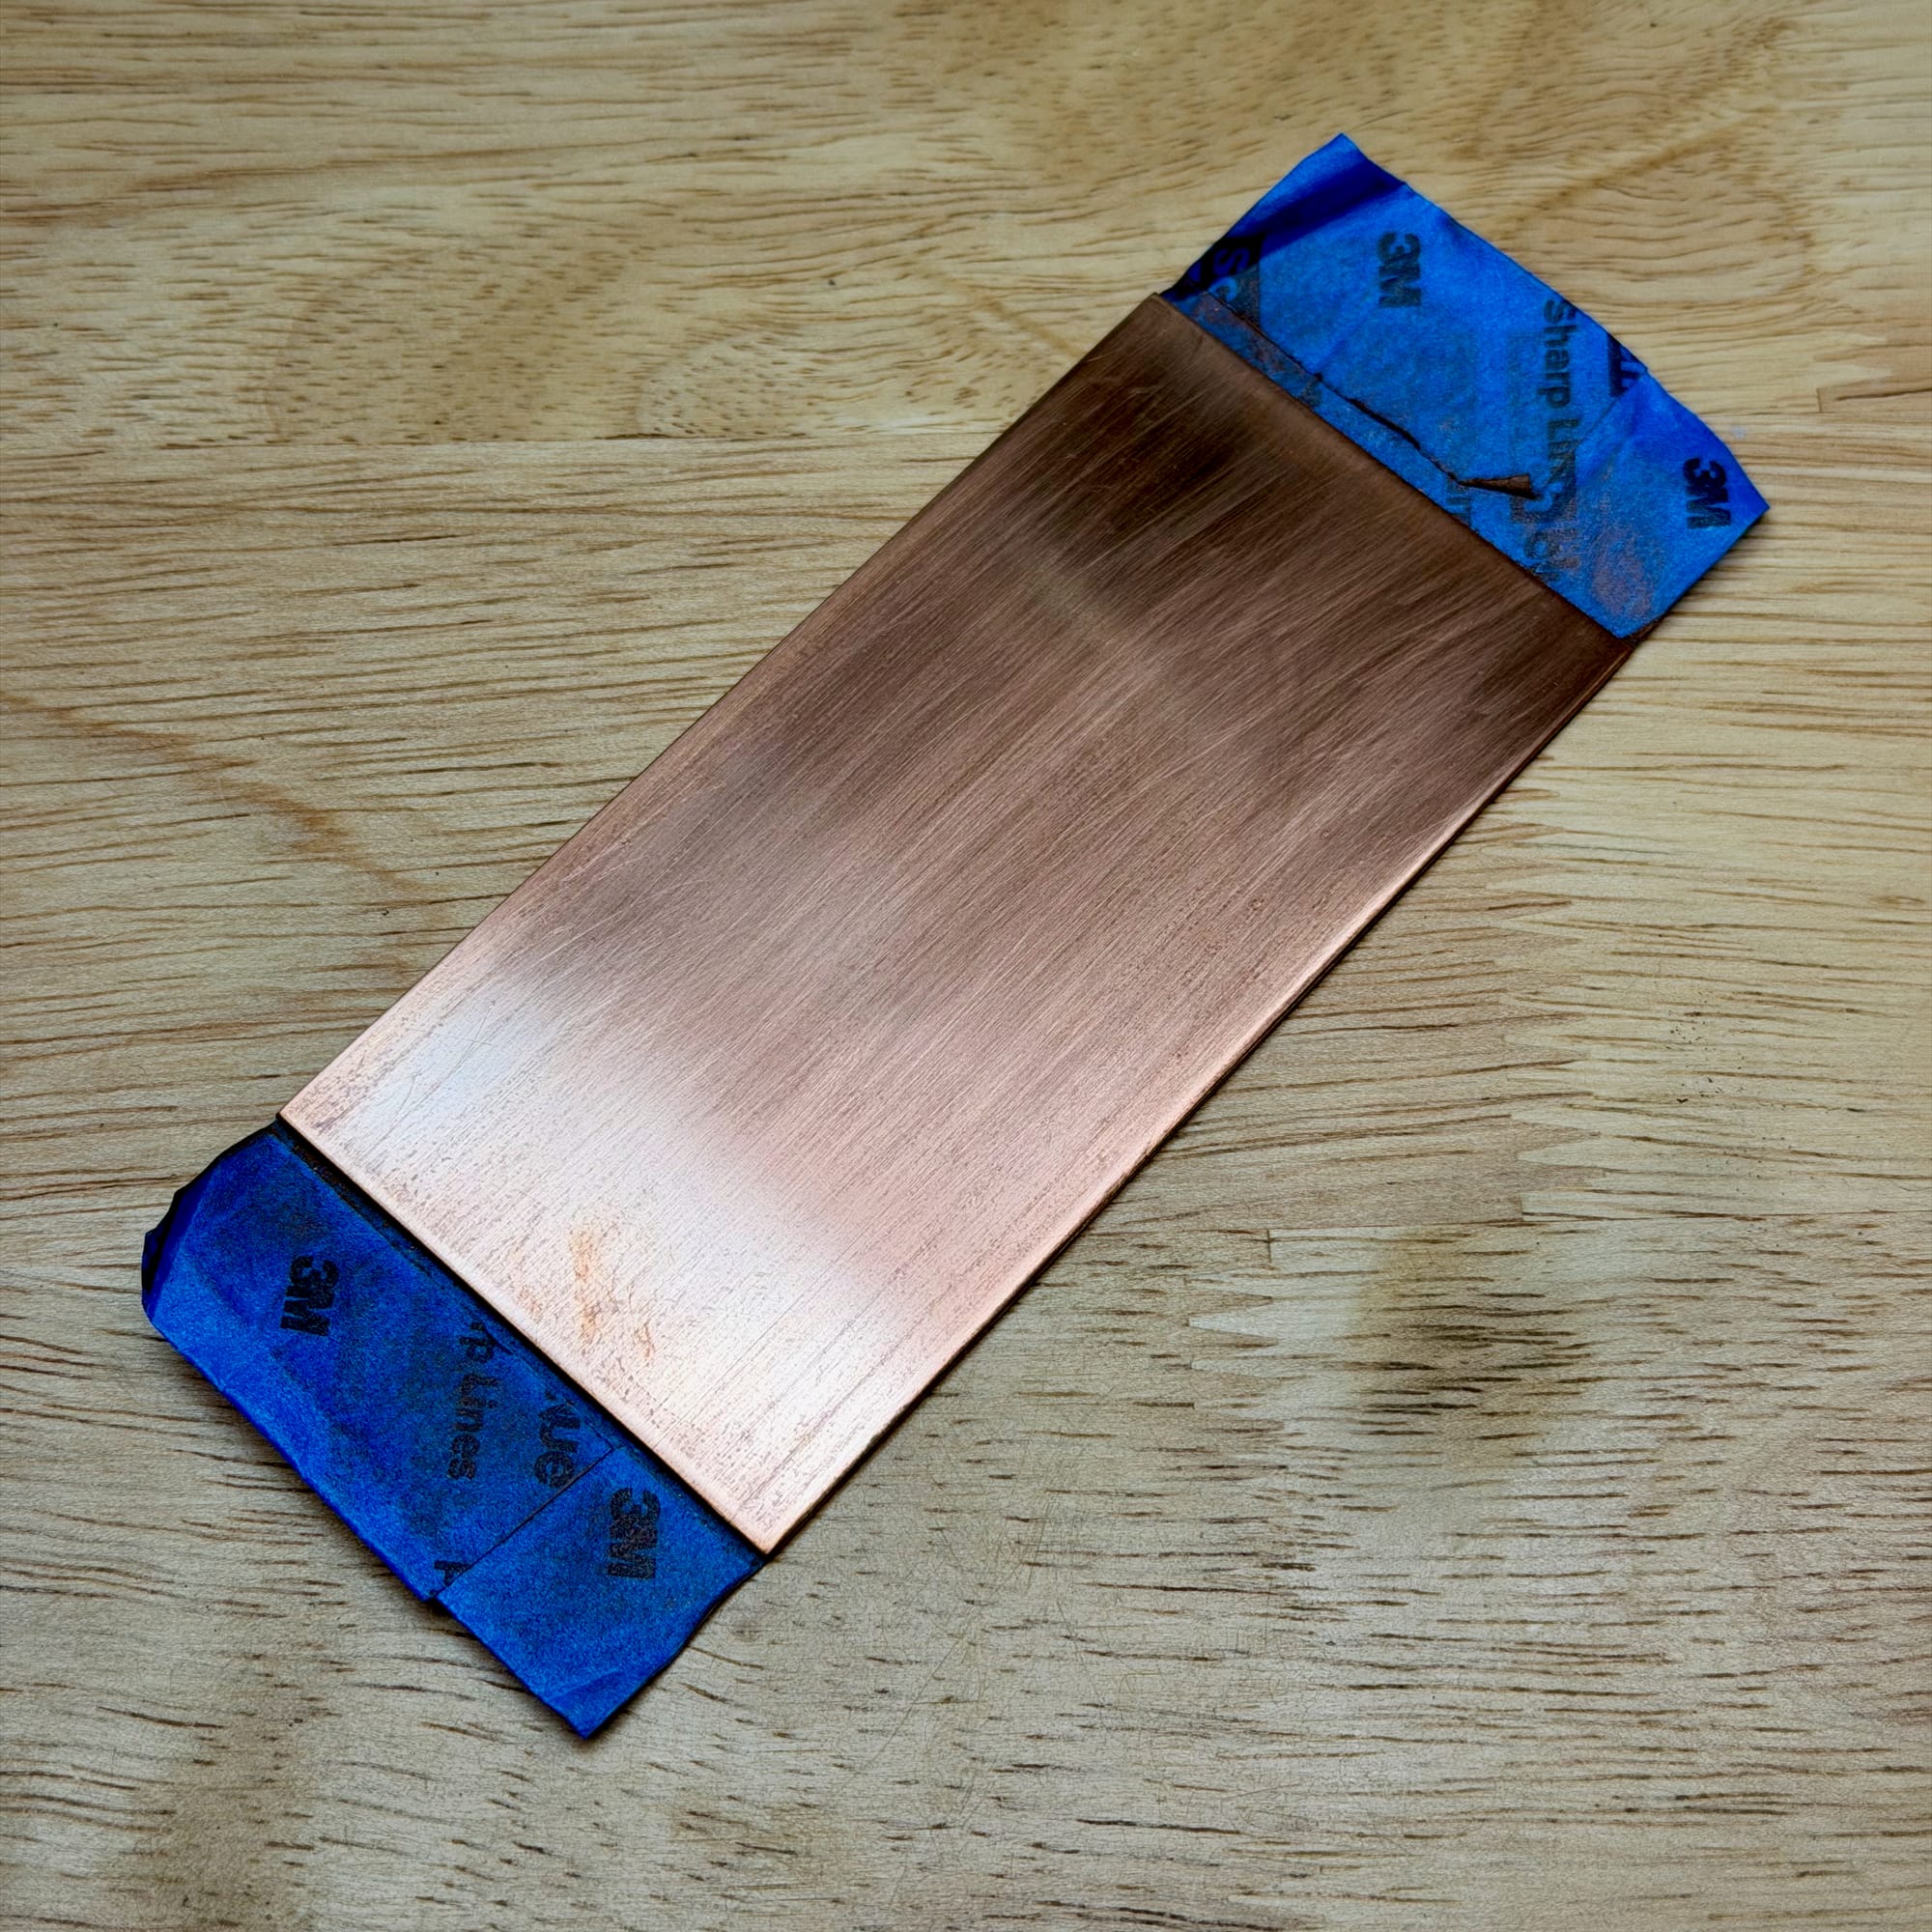
I put the plate on a baking sheet with the painter’s tape side up. Then I carefully heat the glue with my torch so I don’t burn it. When the glue takes on a glossy look, I place it on my plate and hold it until it cools. The plate attaches perfectly, and the glue is even with the plate’s surface.
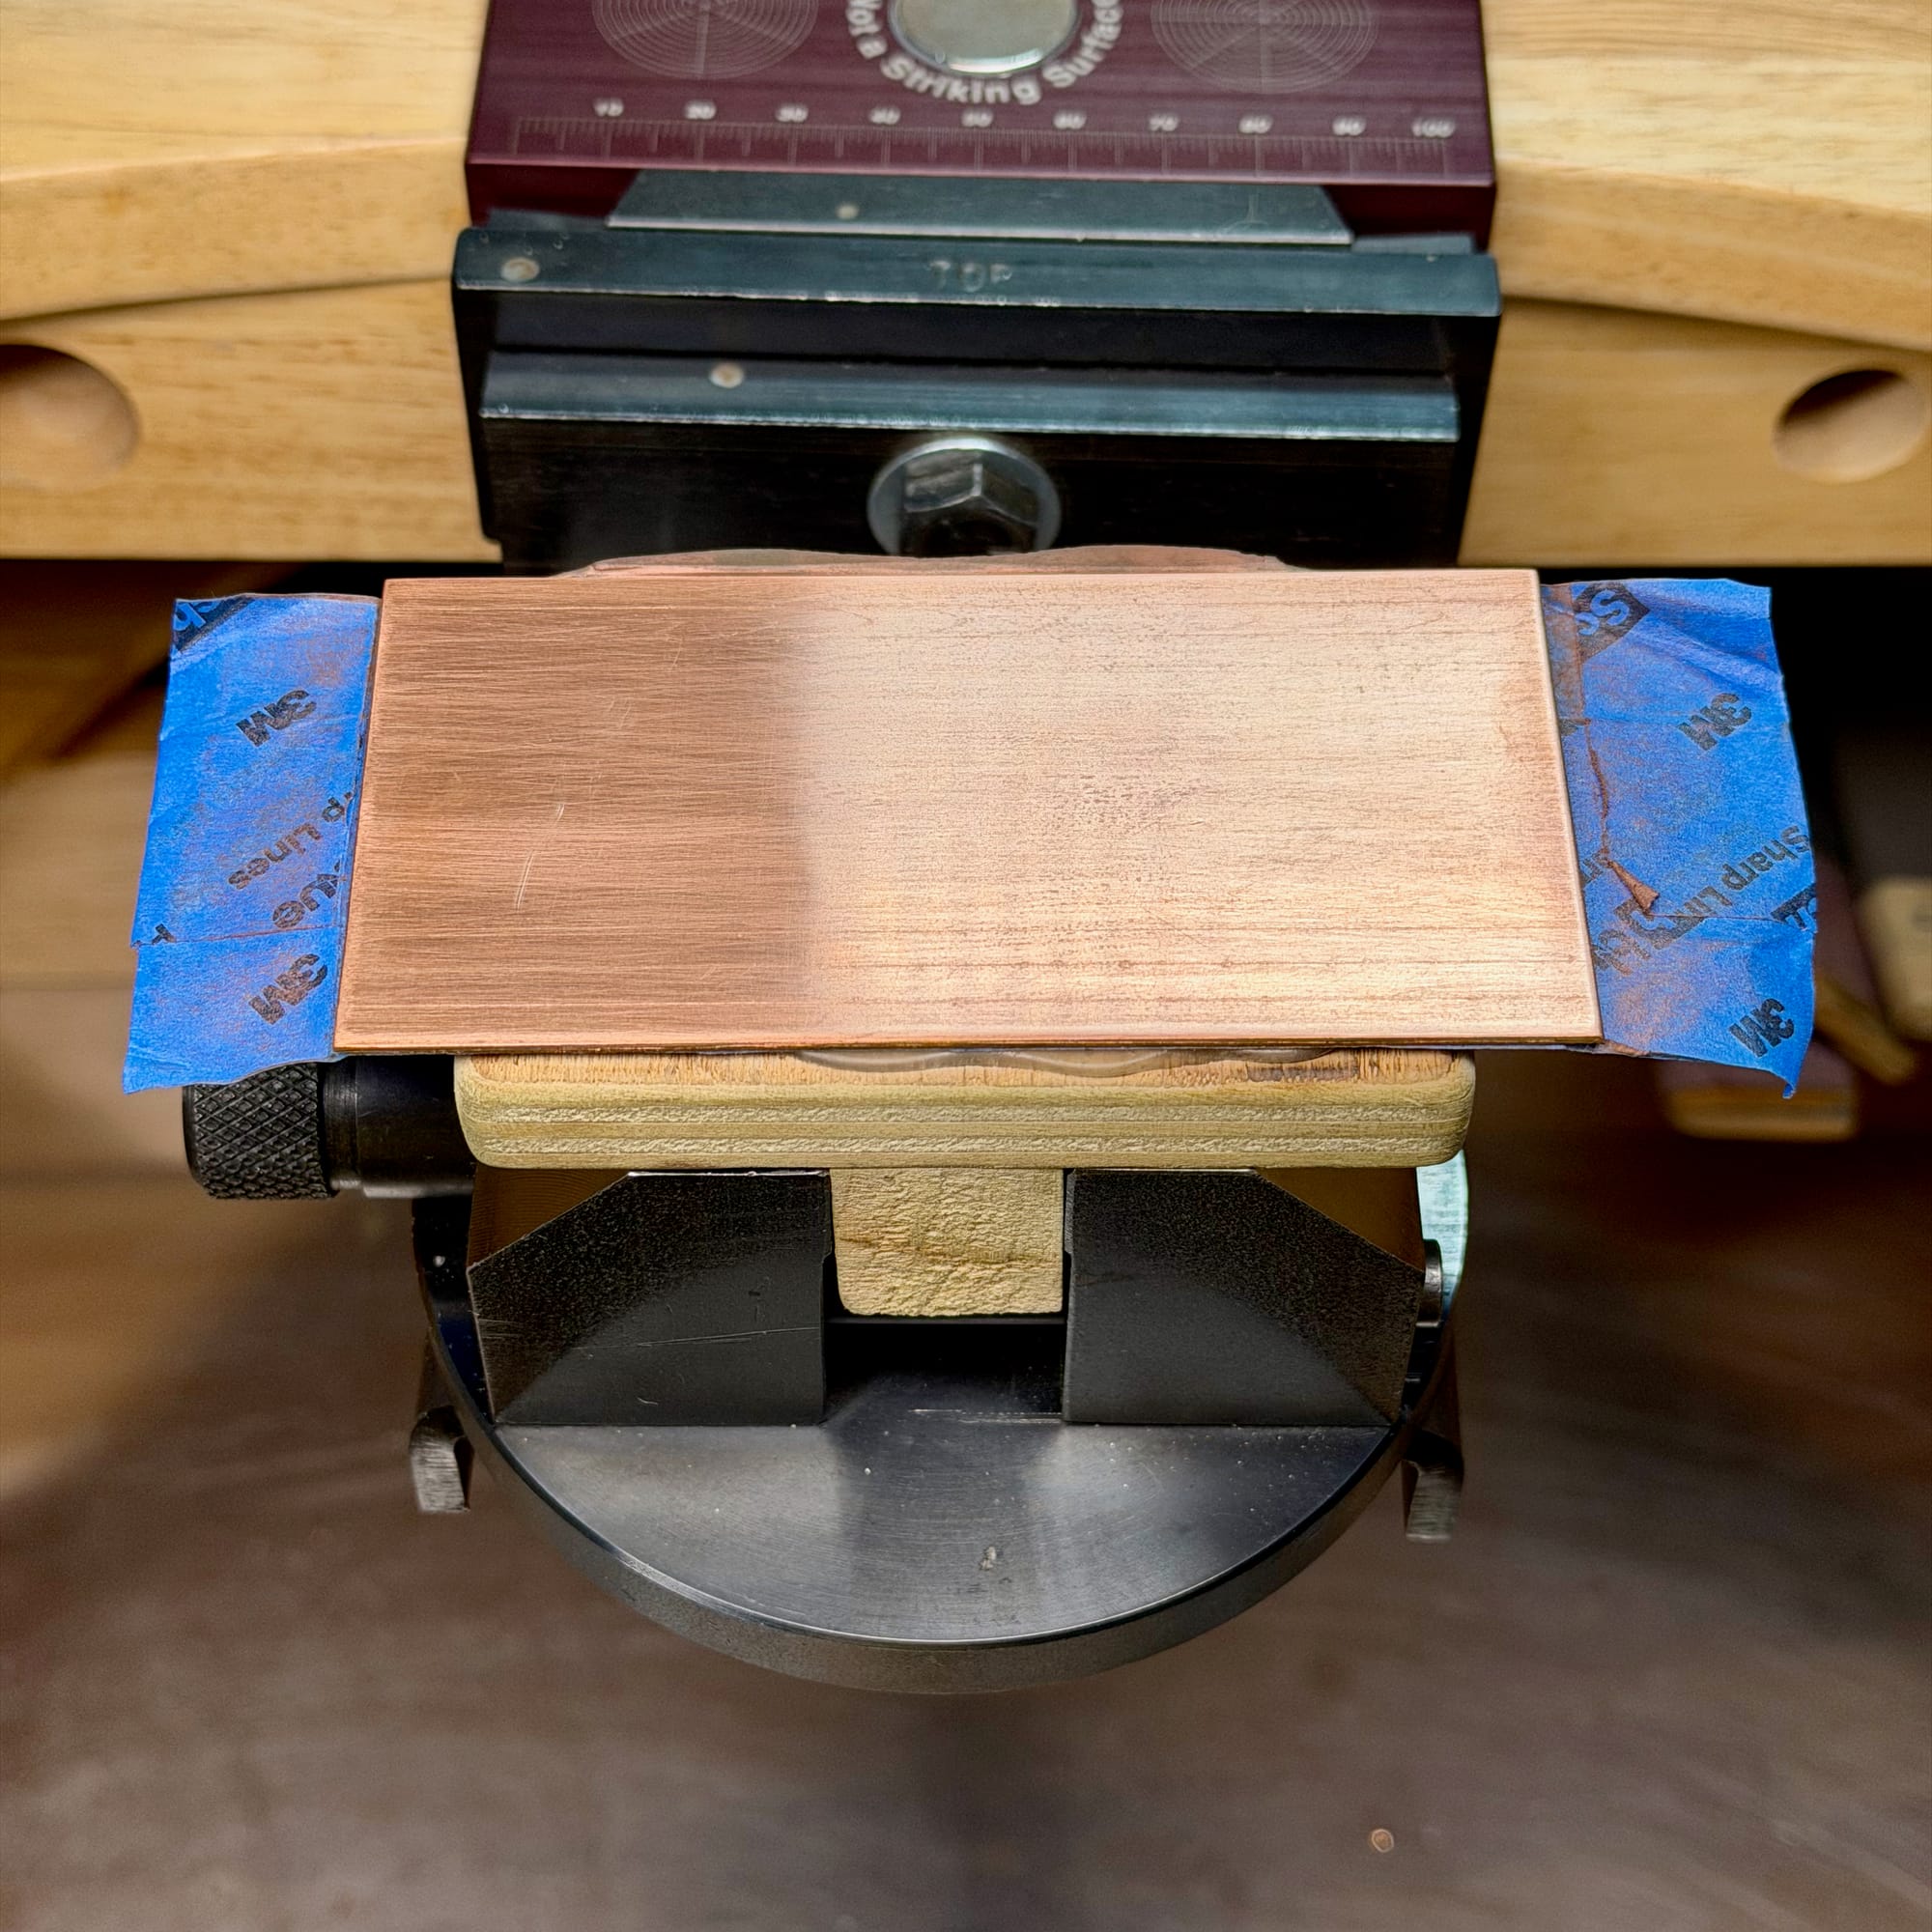
Now that the plate is in place, you can mark it up and engrave. If you're looking for something to use for practice, here's a link to a practice plate:

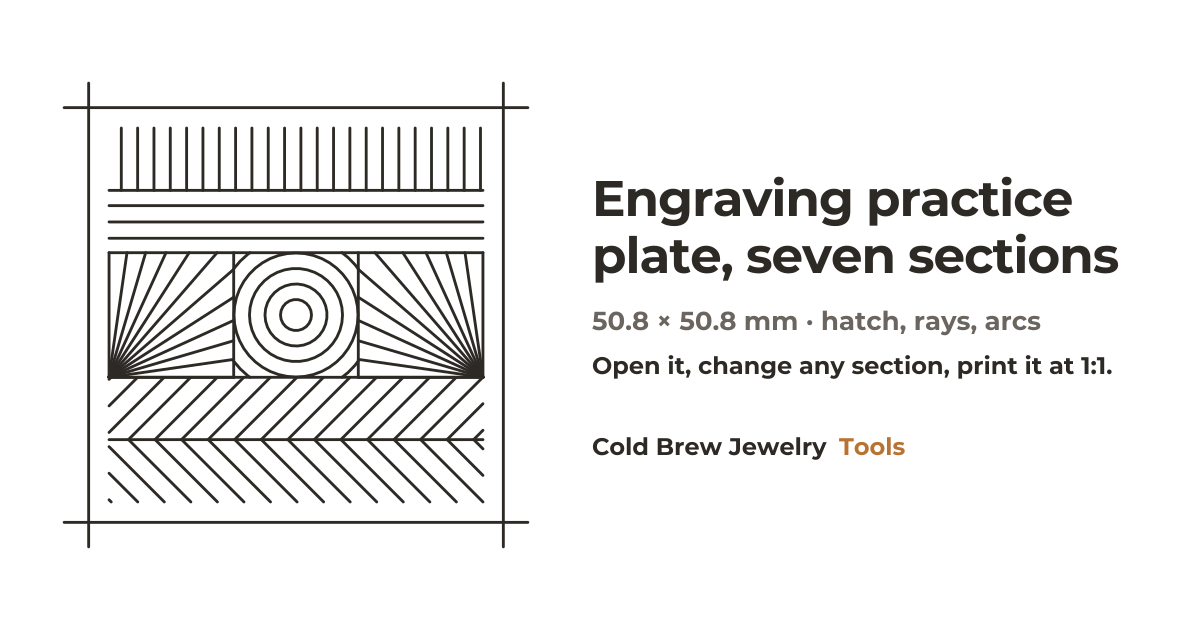
You can open it, print it at 100%, and transfer it to the plate to cut it.
When it’s time to remove the plate, I put it in the freezer for 15-20 minutes. The glue hardens, making it easy to release the plate. Sometimes it’s enough to pull by the painter’s tape. If the plate doesn’t pop out, I use a plastic pick to pry the plate out slightly.
Like most of the other things, a specific workholding setup is a matter of personal preference. I encourage you to experiment and find what works best for you.