Shaping and polishing a graver without a bench grinder
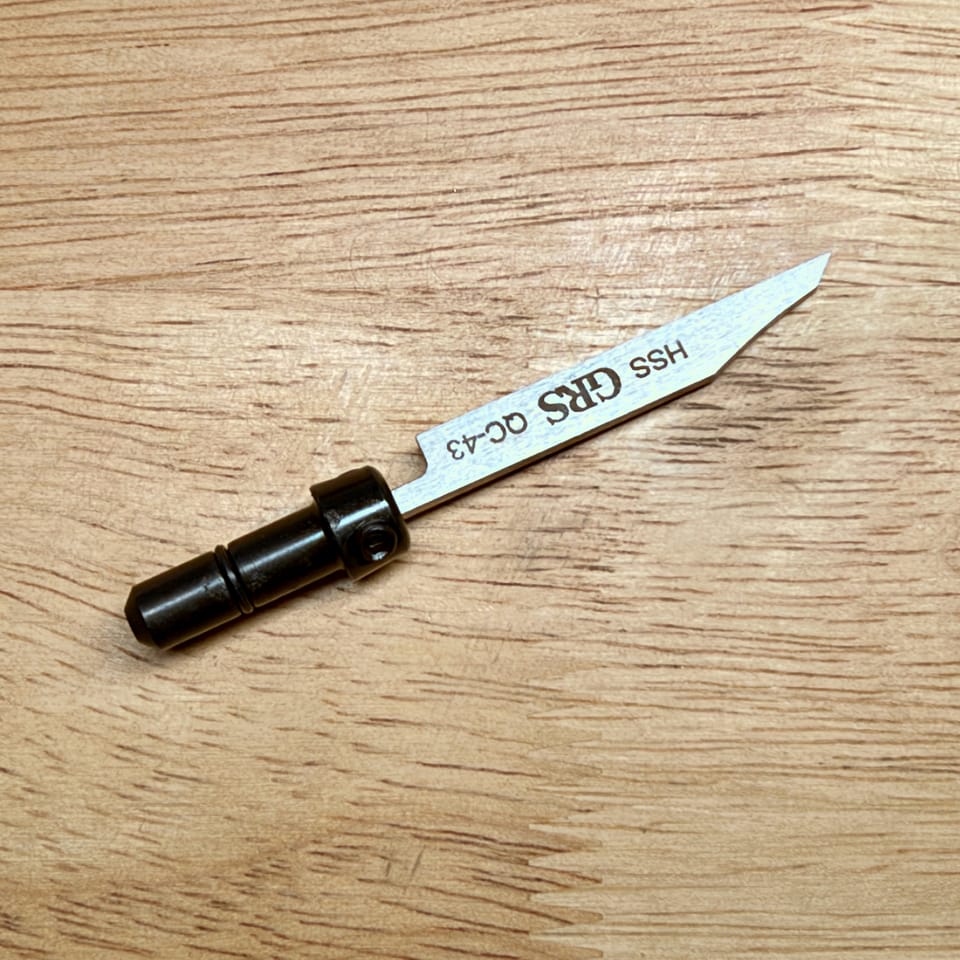
Every engraving tutorial starts with shaping the graver. One option is to buy pre-shaped gravers of different sizes and forms. Some of them only need polishing, but it depends on the intended use. Here I’m focusing on traditional hand-push gravers, like this QC #43 flat graver from GRS:
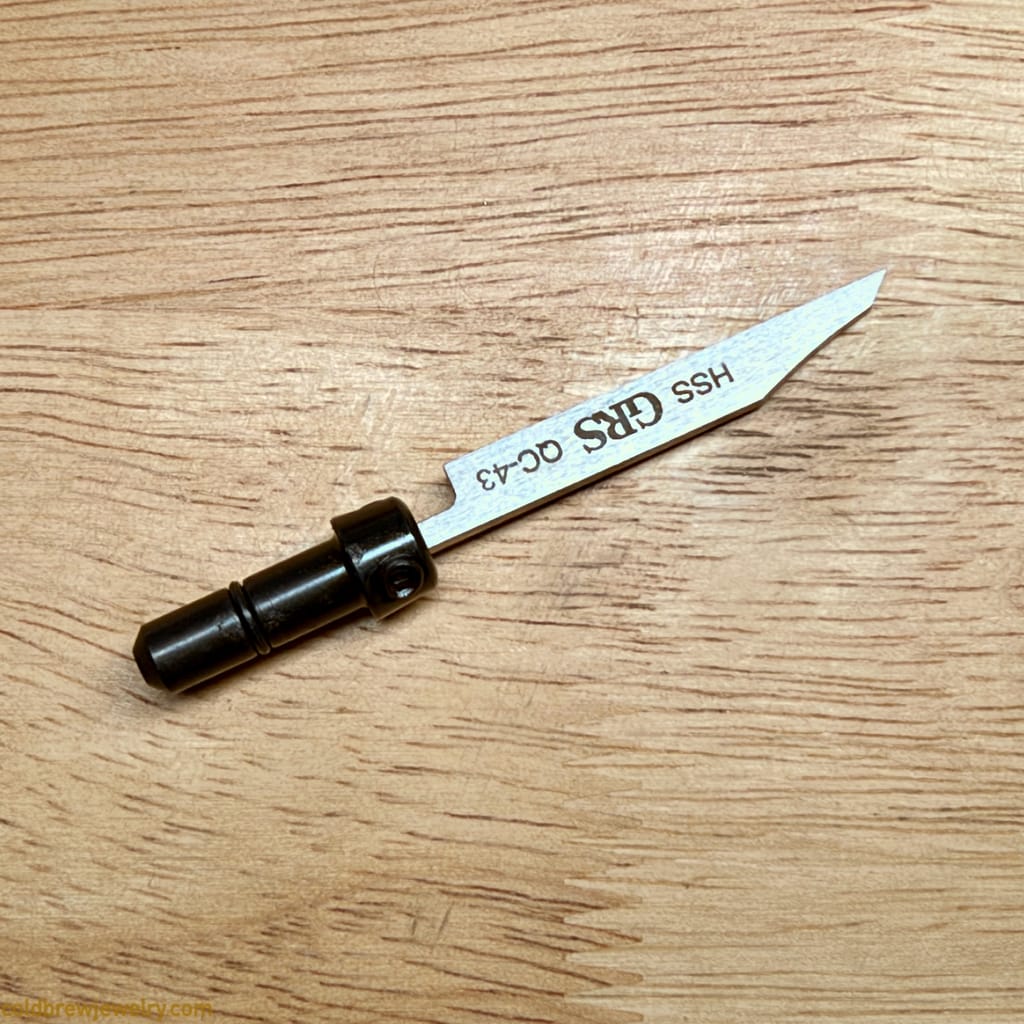
Shaping a graver usually means using a bench grinder. But what if you don’t have one? Here’s how I did it with a flex shaft and a small diamond wheel.
Why reshape a pre-shaped graver
But why shape a graver that is already pre-shaped? It’s simply to make maintenance easier. If you look at the graver, the actual cutting area is rather small. It means the graver doesn’t need a large face. For example, if you accidentally break the tip, a small face lets you re-sharpen it quickly with fewer strokes. Also, your fingers will thank you if you smooth the edges on top.
Shaping without a bench grinder
Shaping a graver means removing quite a bit of metal. Since practice involves working with softer metals, like copper or silver, rather than tool steel, high-speed steel gravers are the way to go. They should handle mild steel, too. Usually, you’d use a bench grinder with proper wheels for shaping. The biggest benefit is that the large wheel lets you cut metal more quickly and use both hands to hold the graver and guide it precisely. And, to be fair, you can find a relatively cheap bench grinder in the nearest hardware store.
In my case, I didn’t have one. But instead, I had a set of diamond wheels for my flex shaft. One of these wheels, the Agilo 5010 Diastone, is specifically made for shaping. From here, I had two options. One is to simply hold a graver in one hand and use the handpiece in the other hand to shape it. It’s totally doable, but you’d need something to brace your hands against so you can cut precisely. You don’t want to put the graver in a vise, either, because you need to cool it in water every few seconds.
Holding the handpiece in a vise
Thankfully, I have an H30 Foredom handpiece, which is pretty much a cylinder. It makes it easy to hold it in a vise. But, of course, you don’t want to put it in a vise as is. You can use a piece of leather to protect it and keep it from sliding down. Be careful not to over-tighten the jaws. Another option is to get a plastic holder designed specifically for this kind of handpiece. It holds the handpiece securely and is compatible with most vises.
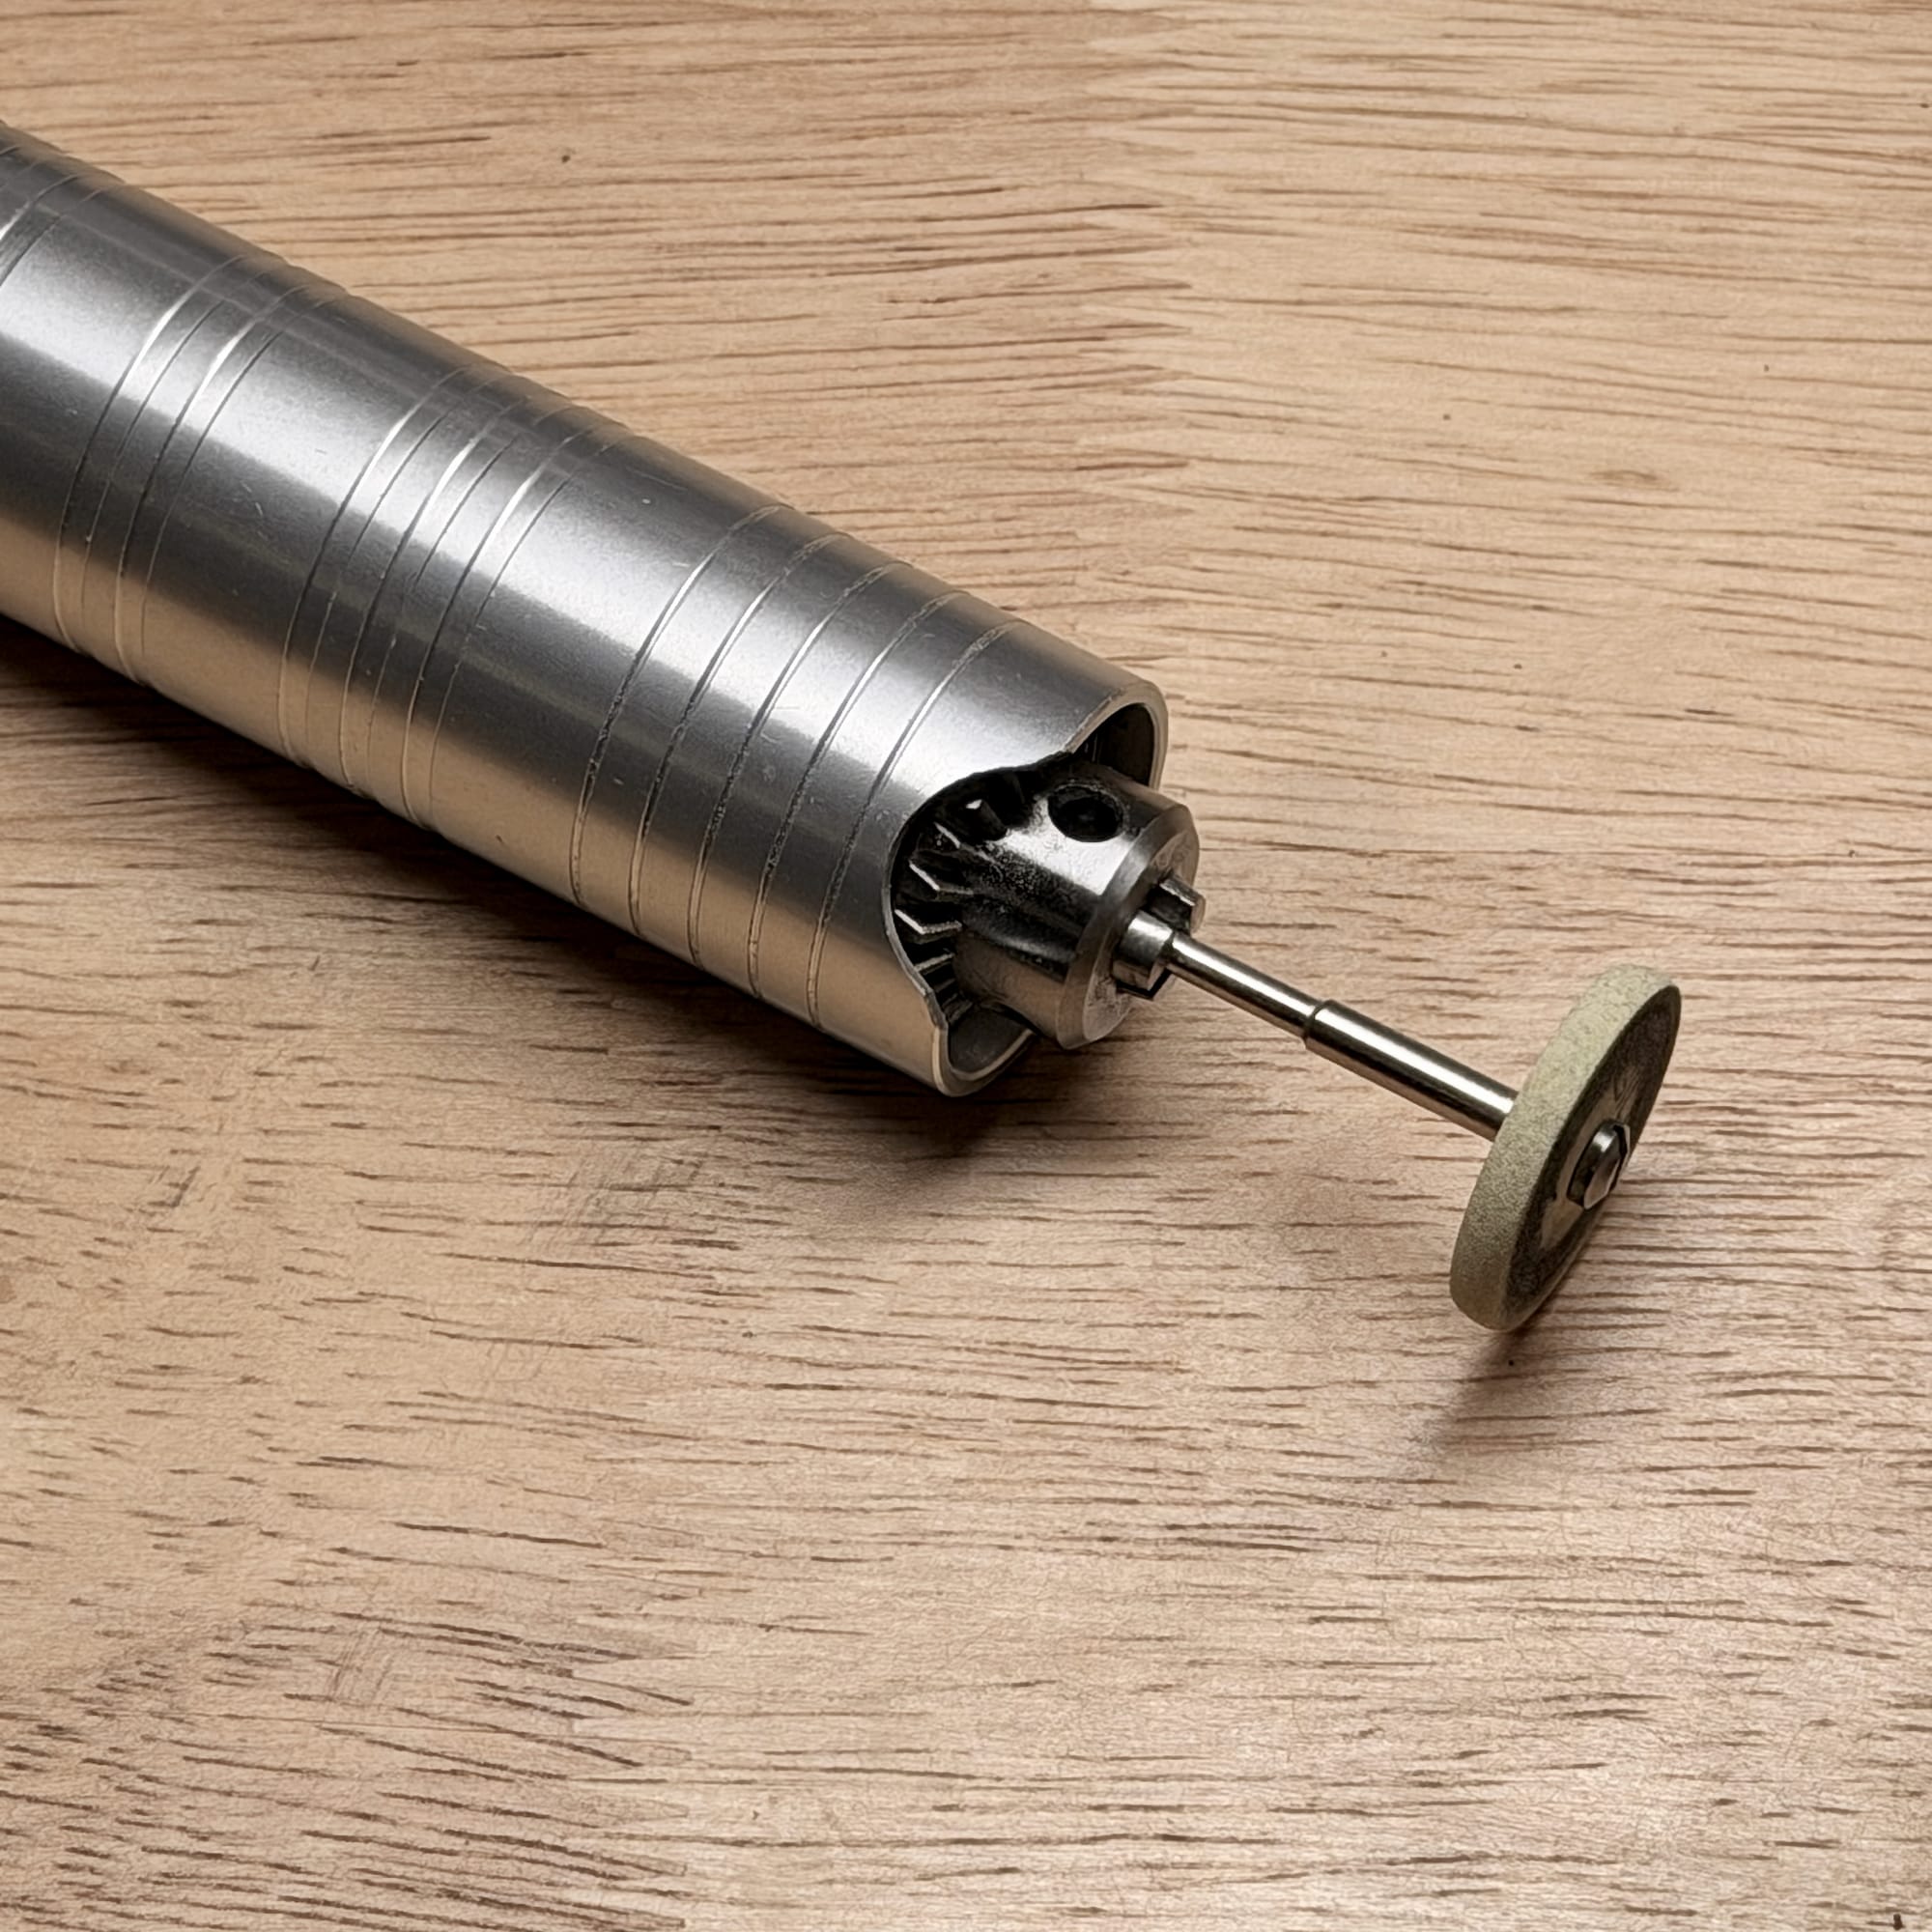
This way, you can use both hands to hold the graver steady and maneuver it while shaping.
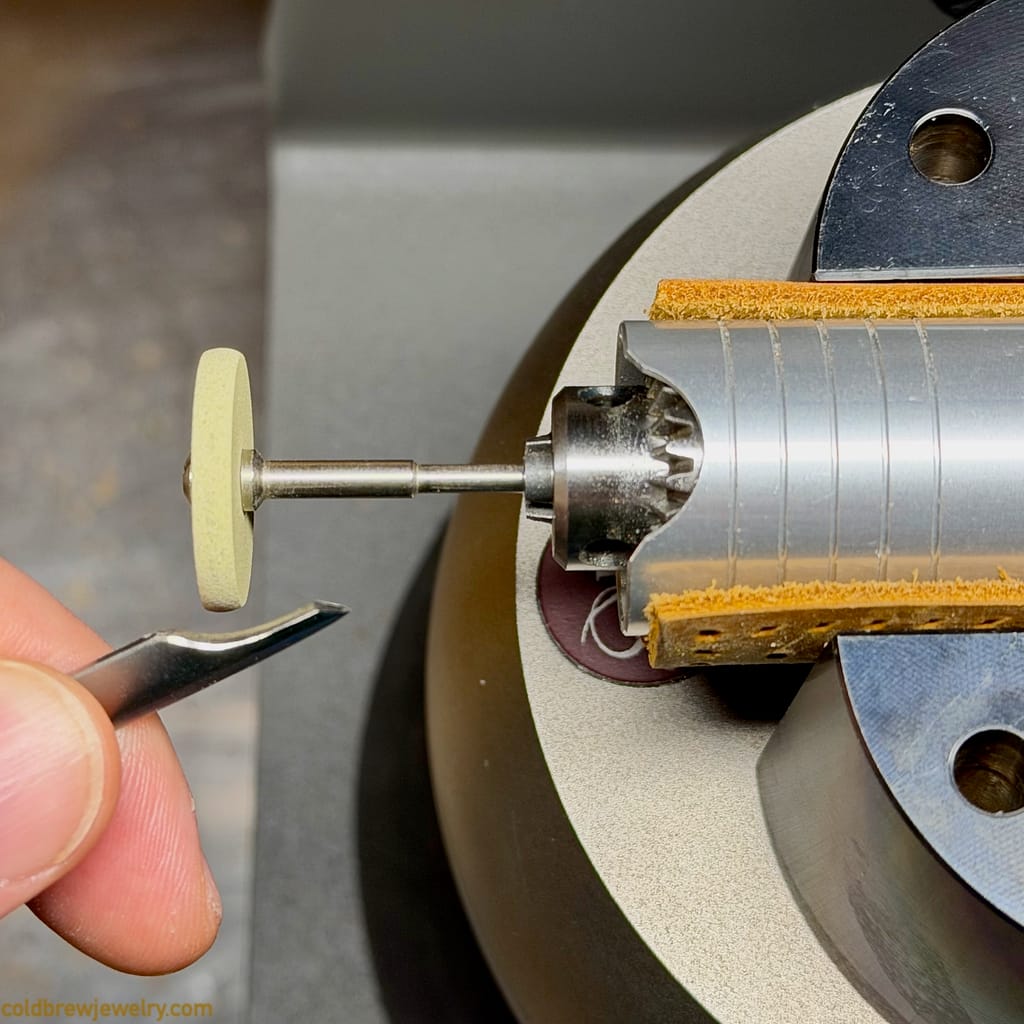
The downside is that the diamond wheel is small and wears out faster. It’s made for smaller jobs, like making a burnisher from an old bur or shaping a beading tool, where you’d usually use the top flat surface of the wheel.
Also, even though the wheel is small, it still heats the graver when you shape it. So use water to cool the graver often. If you overheat it, the metal darkens, and the steel loses its hardness.
Choosing the shape
The specific shape of the graver is something that people debate a lot. From my perspective, it boils down to a few main uses and personal preference. As for me, I prioritize visibility of my work and a mirror-like finish. It means that the tip of the graver is relatively narrow. Also, the face and the heel are mirror-polished. Mirror-polished faces are usually required for stone setting work. But I prefer to have it either way.
Polishing the face and heel
A word of caution about polishing the graver: it’s better to have a non-mirror-polished face than to round its edges slightly while polishing. It might be barely noticeable, but it can add drag and lead to inconsistent cuts.
For the face, I use the Agilo Sharp-M 5021.M medium diamond polishing wheel. If I’d like to go even further, I switch to the Agilo Sharp-XF 5031.XF extra fine one. For the heel, I use Mirror-Grave polishing sheets from Steve Lindsay, but there are many other methods. For example, a piece of leather covered with a diamond spray.
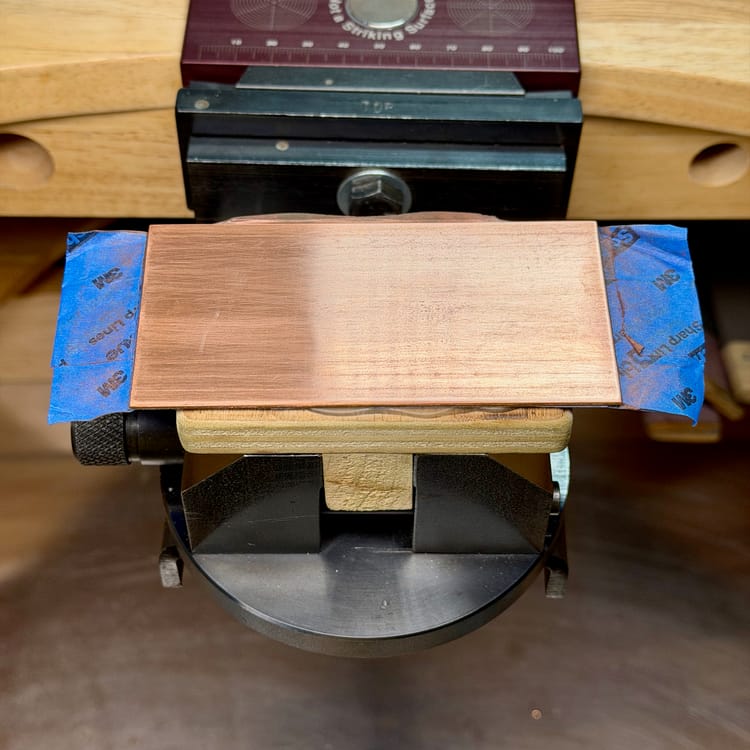
Once the graver is ready, you need something to practice on. Here’s how I hold a practice plate for engraving.